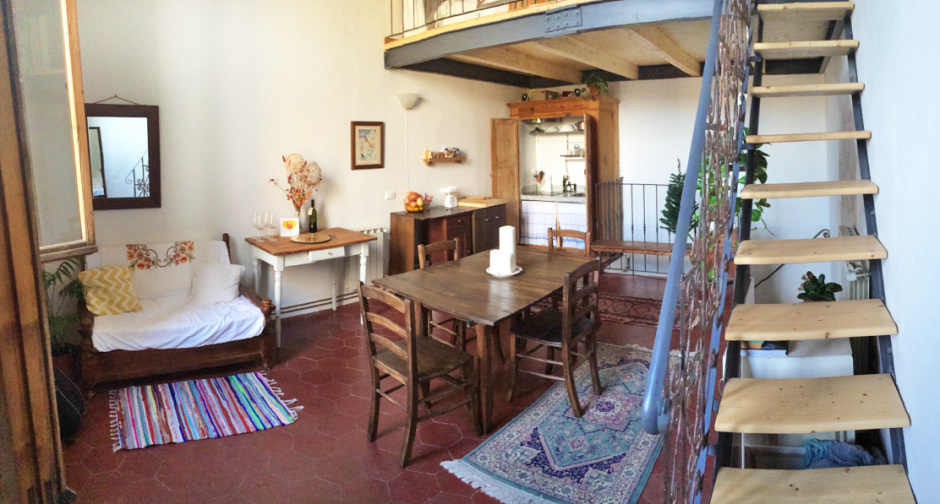
In September this year we moved to Florence (Italy) for a 6 month “sabbatical”. We spent the first week sweltering, temporarily renting a room from an angry/awkward man named Mario in a commercial area of town while we desperately searched for a more permanent (and nicer) solution. Needless to say, when we found this apartment in the Santa Croce area, we snapped it up (click for a bigger picture)!

It wasn’t quite finished (Italians are rather slow at completing things), and only had a few pieces of furniture. But not to worry—we like a challenge, so put our upcycling skills to the test! We were lucky to discover the below unwanted Ikea twin bed frame on the street after a few days. And we love upcycle projects. So we set to work!
Ikea Hack : Dining Table from a Twin Bed Frame

Our landlady had given us the junker table below. It was really teeny, and quite old and dirty—you can see the table top in the second picture. She kept insisting it was perfect for the space, but she was ok with us “updating” it, so we decided to use just the legs to make life a bit easier for us.


The first step was to take the slats off the bed frame. This is super easy with an Ikea frame like this one, since they are just stapled onto the canvas straps, with only a couple being actually screwed in. We also kept the side pieces, to use as the connecting bits in the future table. Disassembly took about 10 minutes.

Next we took the top off of the dirty table. We used the equivalent of a crowbar, since it was wood-glued on. It looks like a ragged mess when we got it off, but it didn’t matter since we were covering that part up again anyway.

Below Chris is using the bed frame sides to screw each of the slats to. He made sure that the inner table fit in the space between the frame sides. He had to cut the lengths a bit since the slats didn’t make it all the way once they were pushed together. We ended up using the cut-off end bits to make a coat rack.


We rested the top part of the table on the legs, and I set to sanding things down. It wasn’t too much work as the slats were unfinished wood anyway, but I didn’t want the sides to be quite as sharp. Lots of dust, so I needed a makeshift mask! You can see the climax of the dust storm in the second photo below.


The finished (unfinished) table!

Next, we found a nice dark stain and stained the top and legs. The landlady had also kindly provided us with chairs, which were also rather dirty and unwell-looking. We sanded them all the way down (this took A LONG time), and stained them too, to match. Not all upcycle projects are quick and easy….stupid chairs.


We added a couple coats of varnish to make sure that any water didn’t mess up the stain, and we were done!


Crafting on the table, doing a post for my Recycled Gift Wrap DIY post over at Fair Ivy:

Thanksgiving on the table!
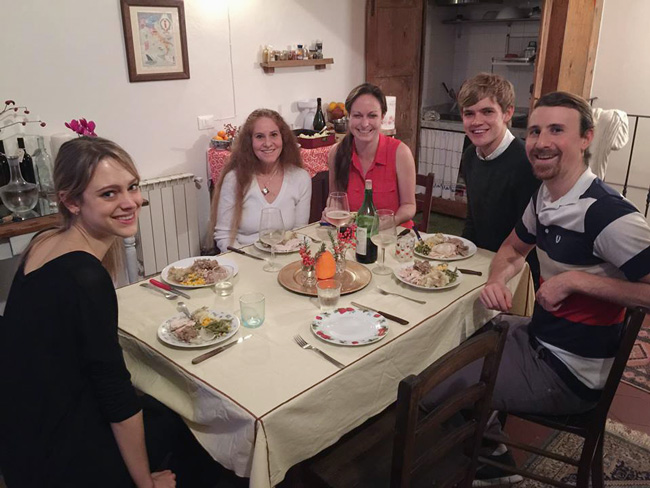
More photos:
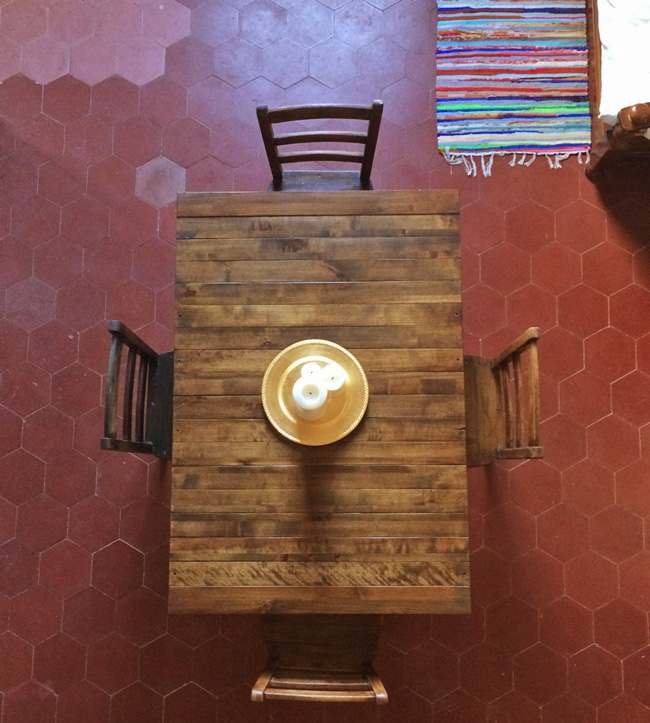
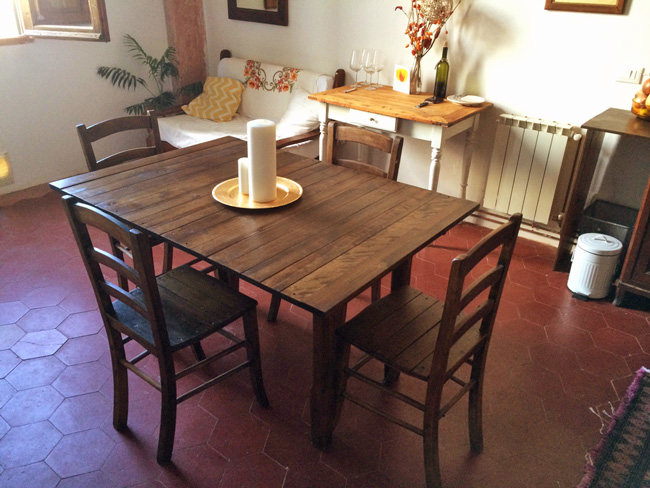
We ended up changing the orientation, since the sun shines really brightly into the room in the morning, so breakfast was a bit blinding the other way!
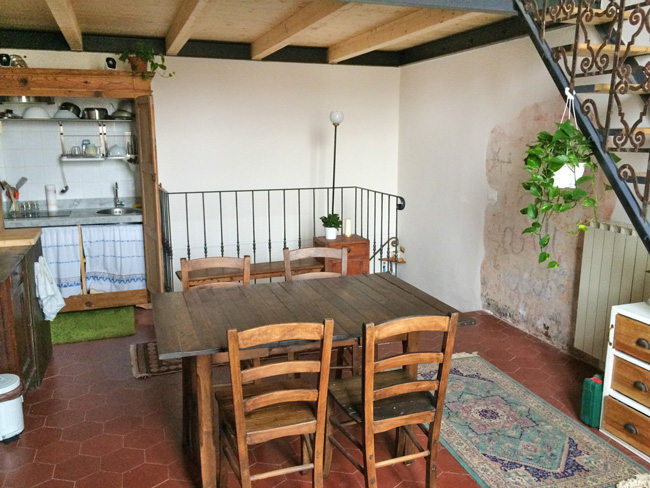
The end! We were really pleased with the result (as is the landlady, especially since she’ll be inheriting it back from us when we go back to LA in February.) Until the next of our upcycle projects series!




Leave a Reply
You must be logged in to post a comment.