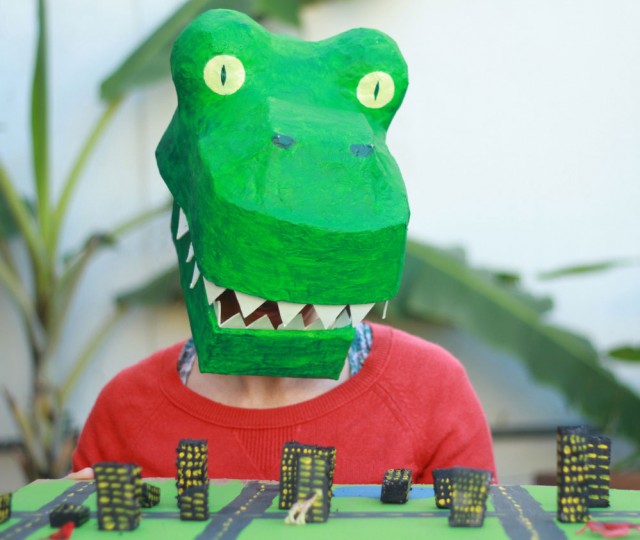
It’s time for a paper mache dinosaur mask DIY!
I absolutely love paper mache (or papier mache, however you want to spell it), and jump at any opportunity to do it. This Christmas, my friends and I did a Secret Santa exchange with a theme of “What your gift recipient wanted to be when they grew up”. The person I received already seems to have their dream job (working at Disney as an Imagineer!), so I decided that as a little boy, he probably wanted to be a dinosaur.
….and let the crafting begin!
![]()
Paper Mache Dinosaur Mask DIY
Materials:
- construction hat ($7 on Amazon here)
- scrap paper (magazine, newspaper, etc)
- flour
- tape
- hot glue
- cardboard
- paint
- 2 balloons
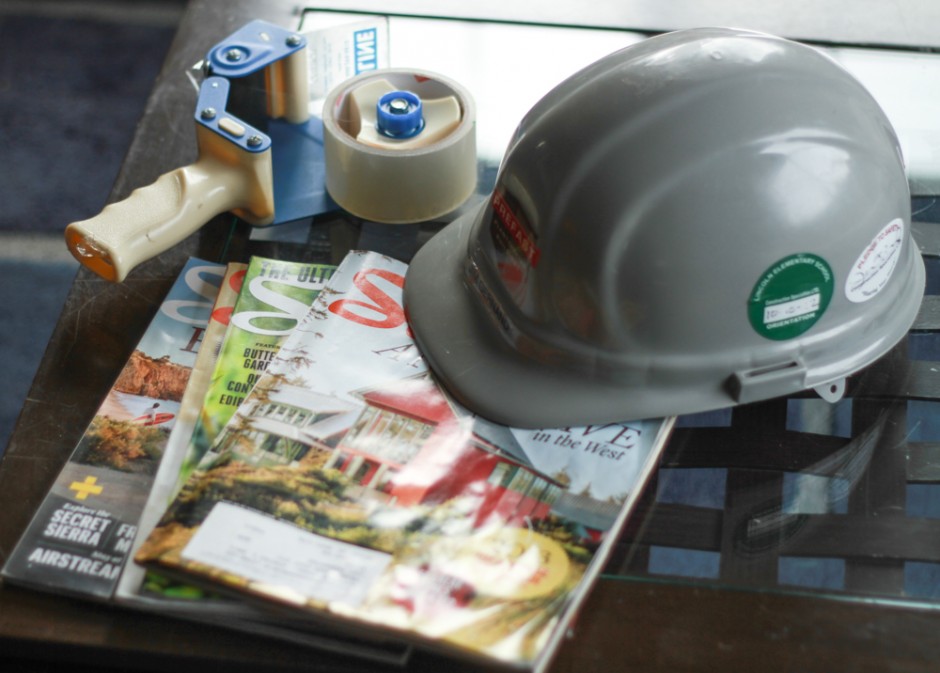
1. First you cut up some cardboard strips and tape them along the front of your construction helmet, to make the top jawline extension. Next add a few more strips arched above the first cardboard extension, which will essentially be his snout.
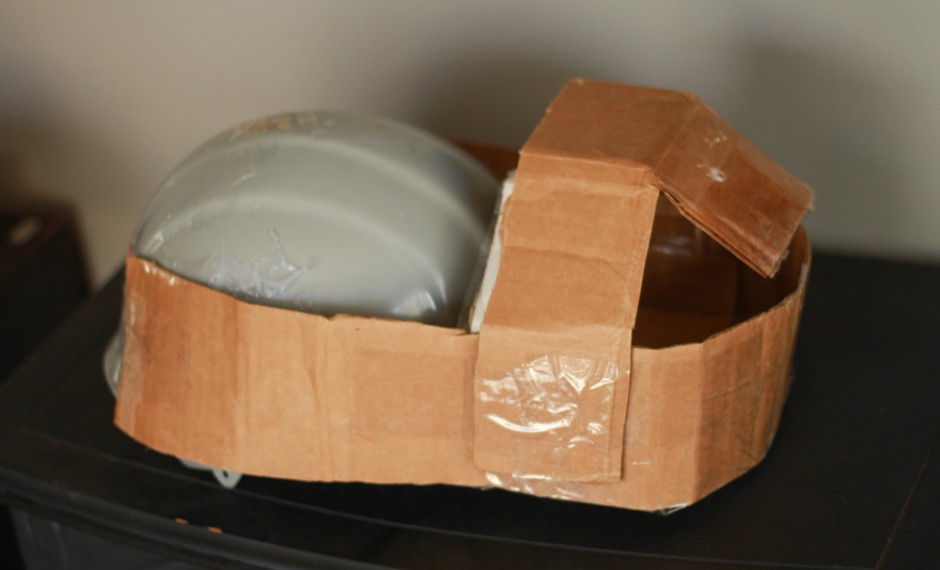
I started to paper mache the cardboard at this stage, but in retrospect, I should have just waited until I added the eyes before doing anything. So skip that part for now.
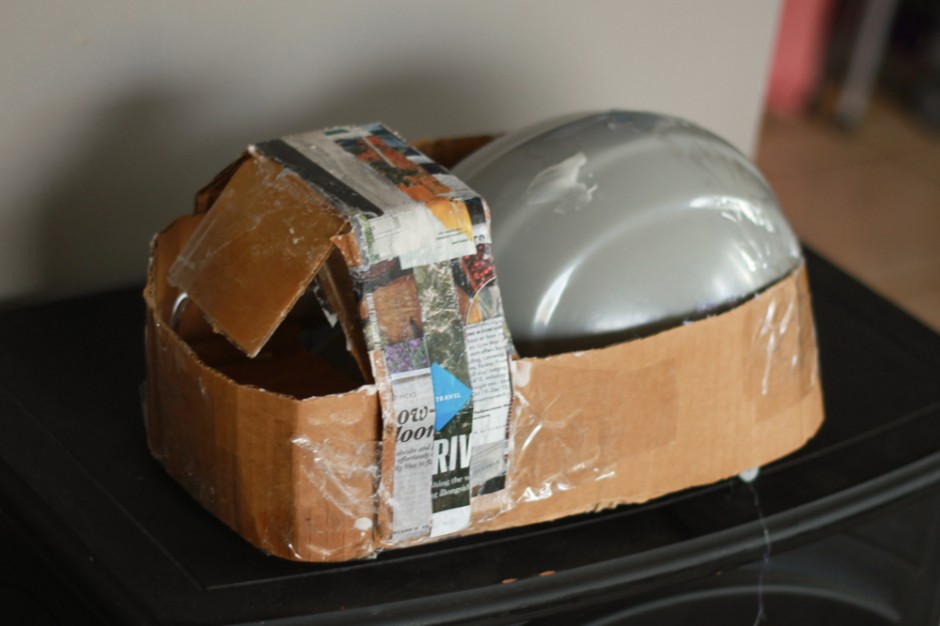
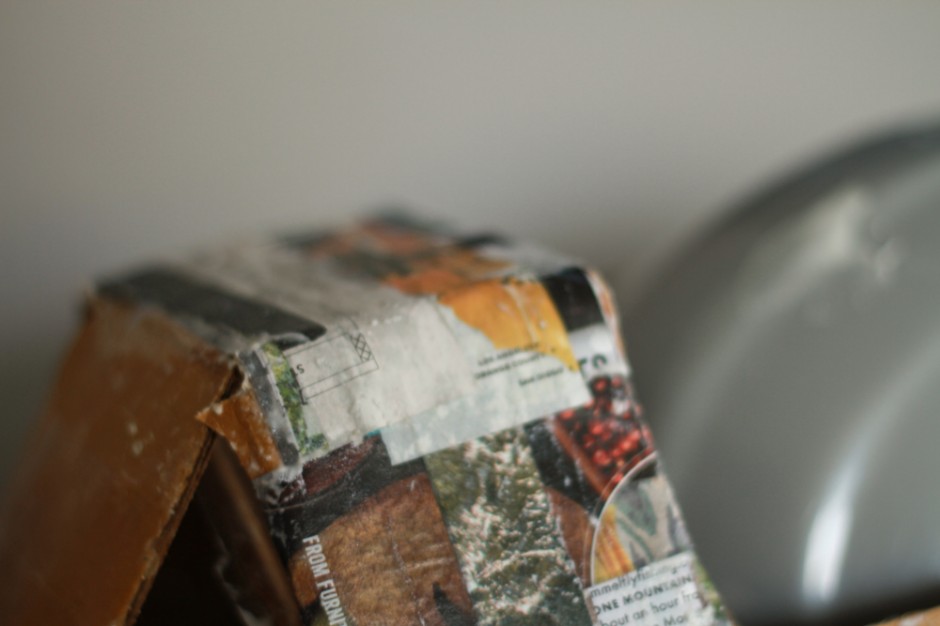
2. Blow up two balloons to be about the size of your fist, and tape them to the sides of the hat. These will be the eyes. You then want to use the masking tape to tape down everything so that there isn’t a gap in between anything. You are essentially making the shape of the skin, so it should be smooth with no big holes.
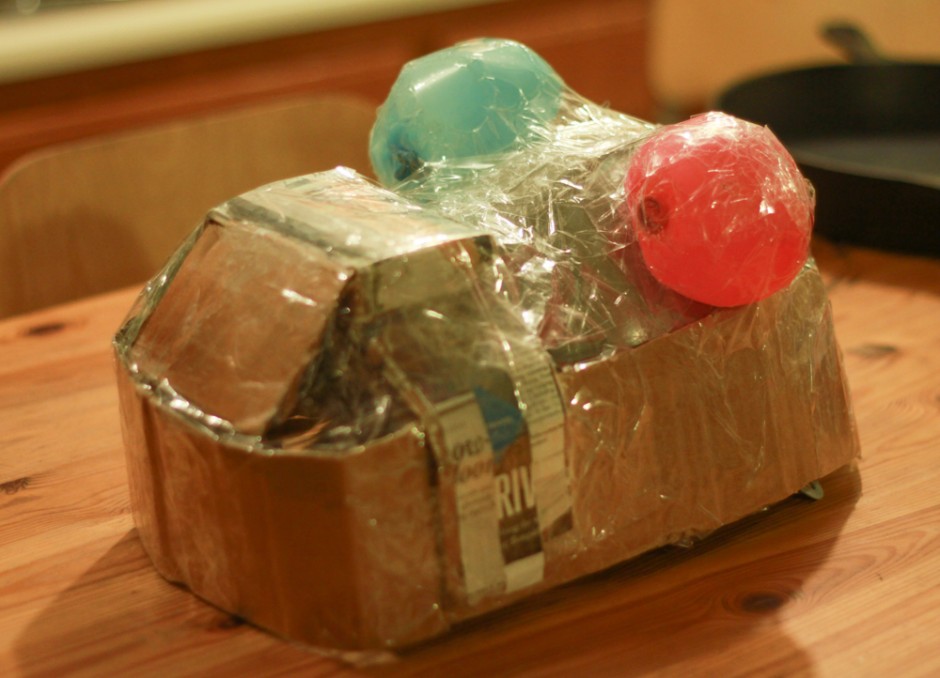
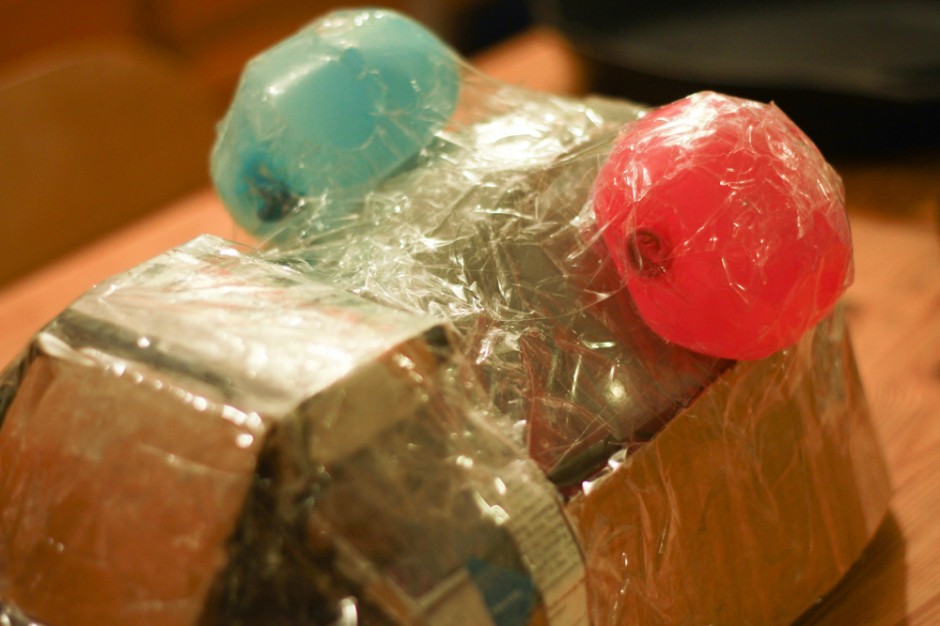
3. Paper mache the head!
In case you haven’t paper mached before, you fill a bowl with flour and enough water for it to be more liquid than solid. Then you dunk strips of paper into it and lay it down all over the dinosaur head. There are a plethora of different types of paper mache recipes here if you need more specific instructions.
You can do a couple of paper layers each time, but then you want to leave time for it to dry between doing more. Usually this takes about a day, or if you are impatient (like me) you can put it in the oven on warm (NOT hotter) for 30 minutes to an hour. You should repeat this process at least 2 times—the more you do, the stronger and less fragile the paper mache dinosaur mask will be.
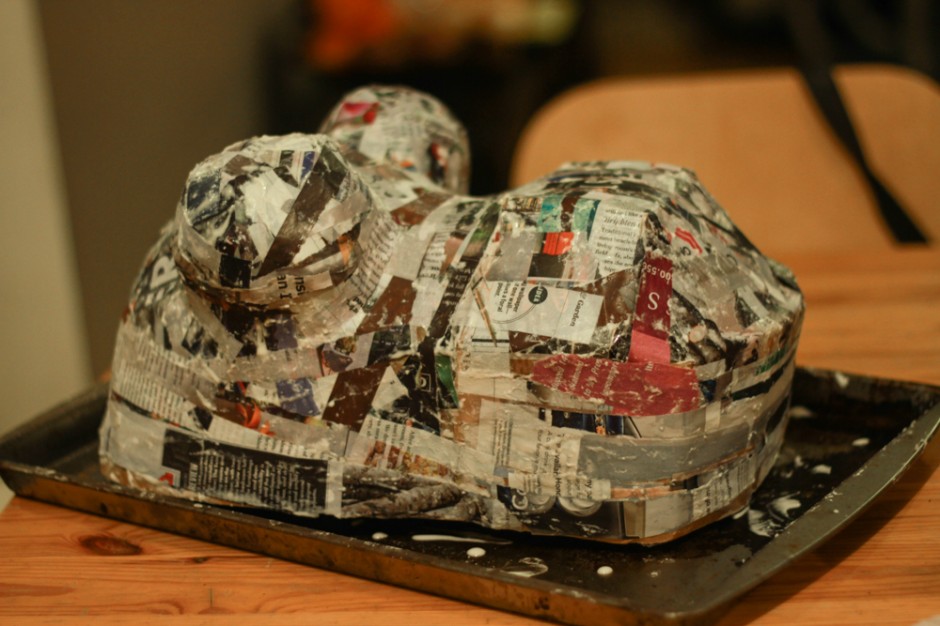
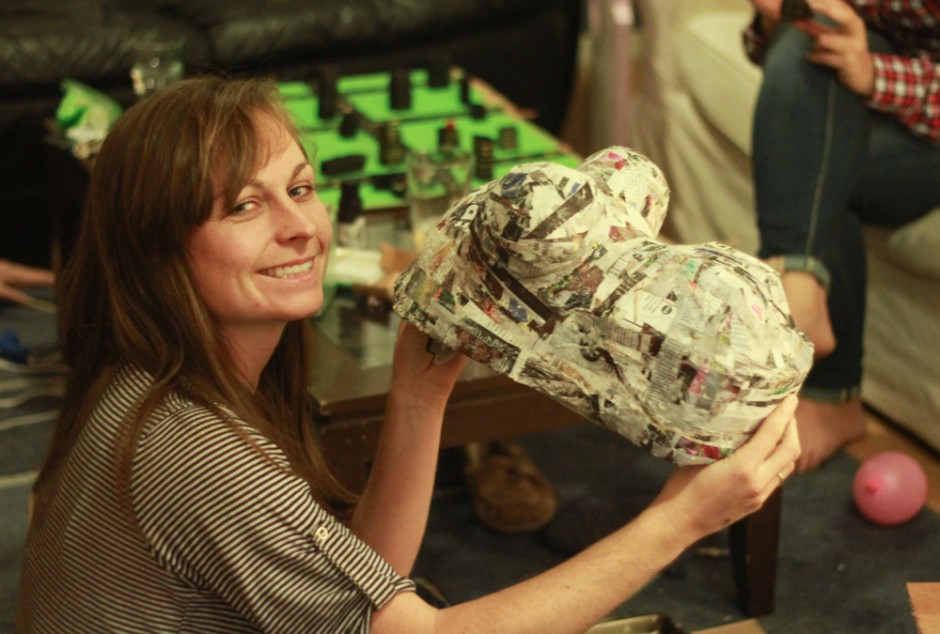
You can sorta see the miniature village this Godzilla will destroy, which is being made in the background (see the last page for more photos of that!)
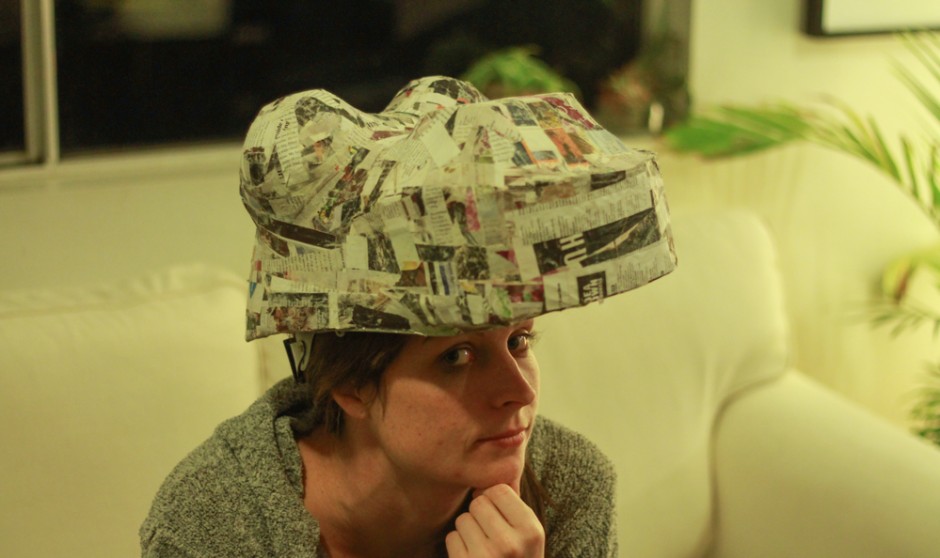
4. NOTE: If you are adding the lower jaw (like I did), skip the painting part for now. I’m silly and did things out of order.
I thought I’d paint green directly onto the newspaper, but I quickly realized I needed a layer of white first, to cover all the magazine images. Then I went with green (but if you use white paper to begin with, you can go straight to green).
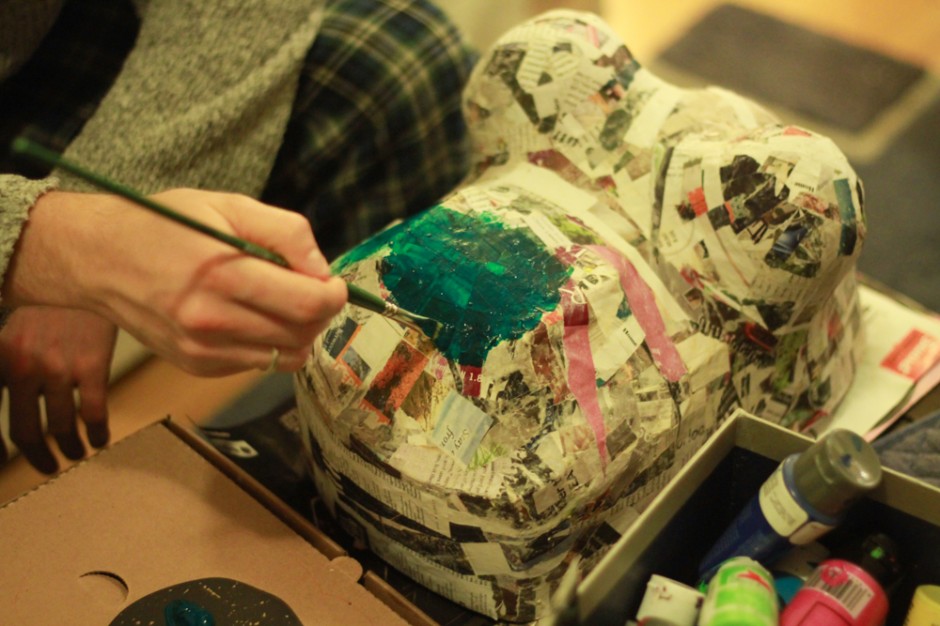
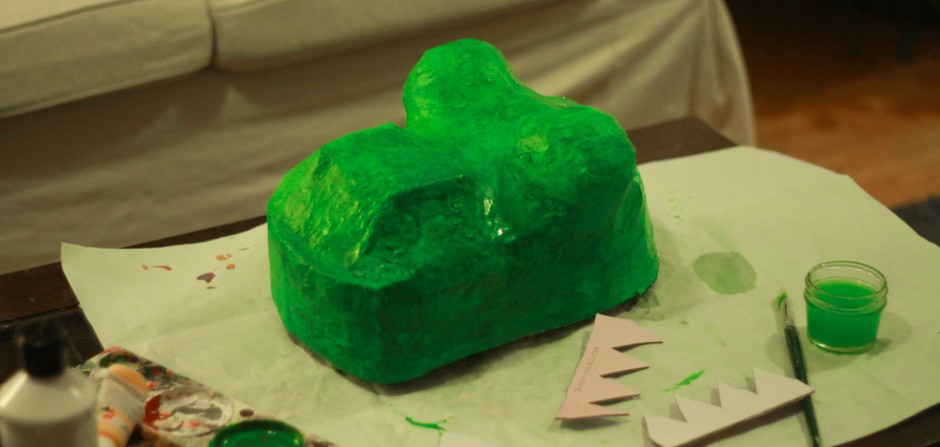
5. Next—teeth! Cut some strips of cardboard into teeth shapes. Make sure you leave a little extra room at the bottom, because you’ll be gluing them down and this part will be hidden. Paint them white and once they’re dry, hot glue them on the inside of the top jaw!
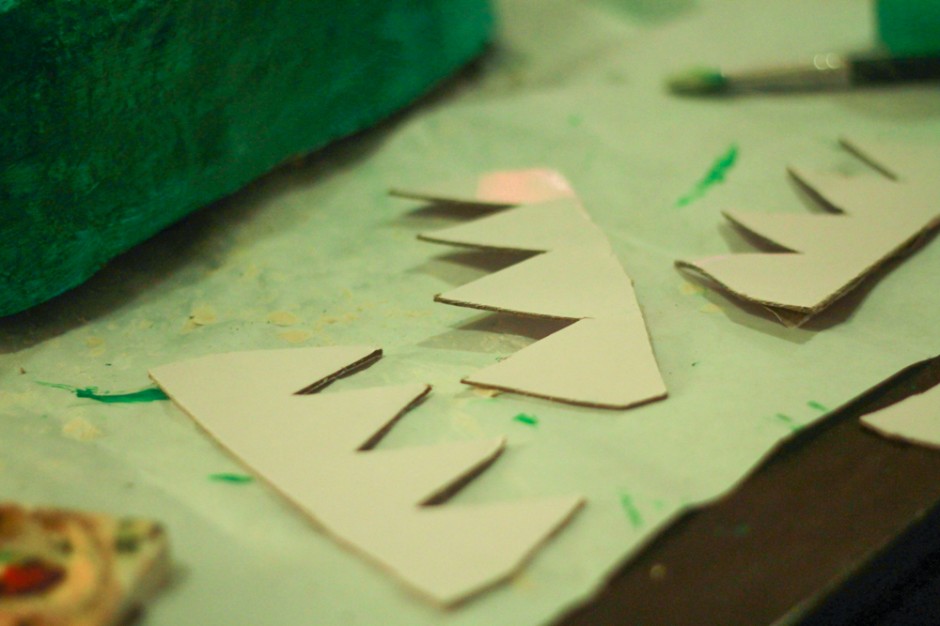
6. I next painted the eyes and added some nostrils!
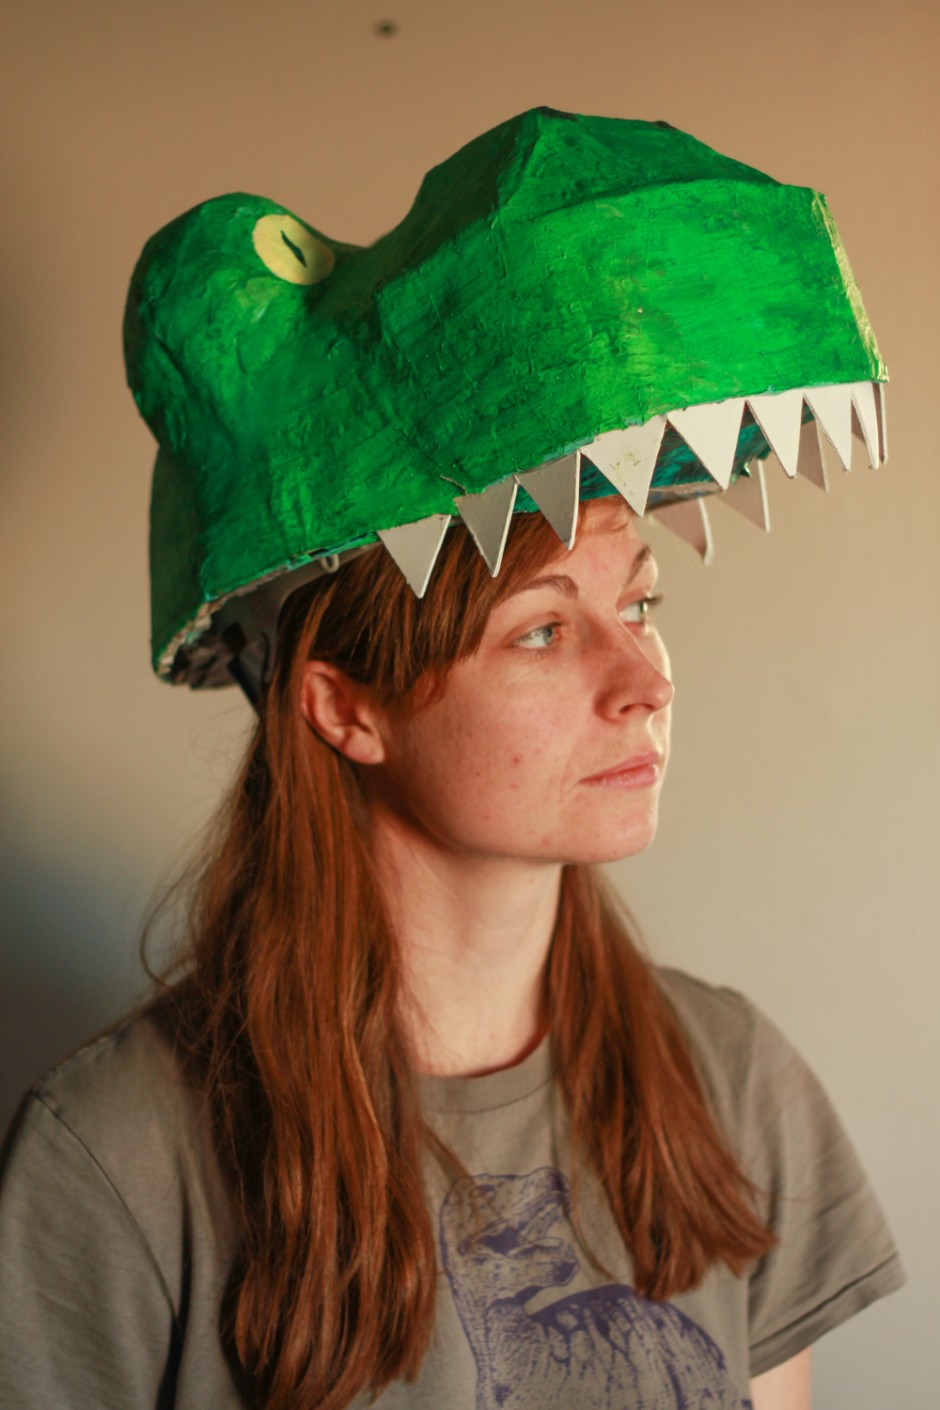
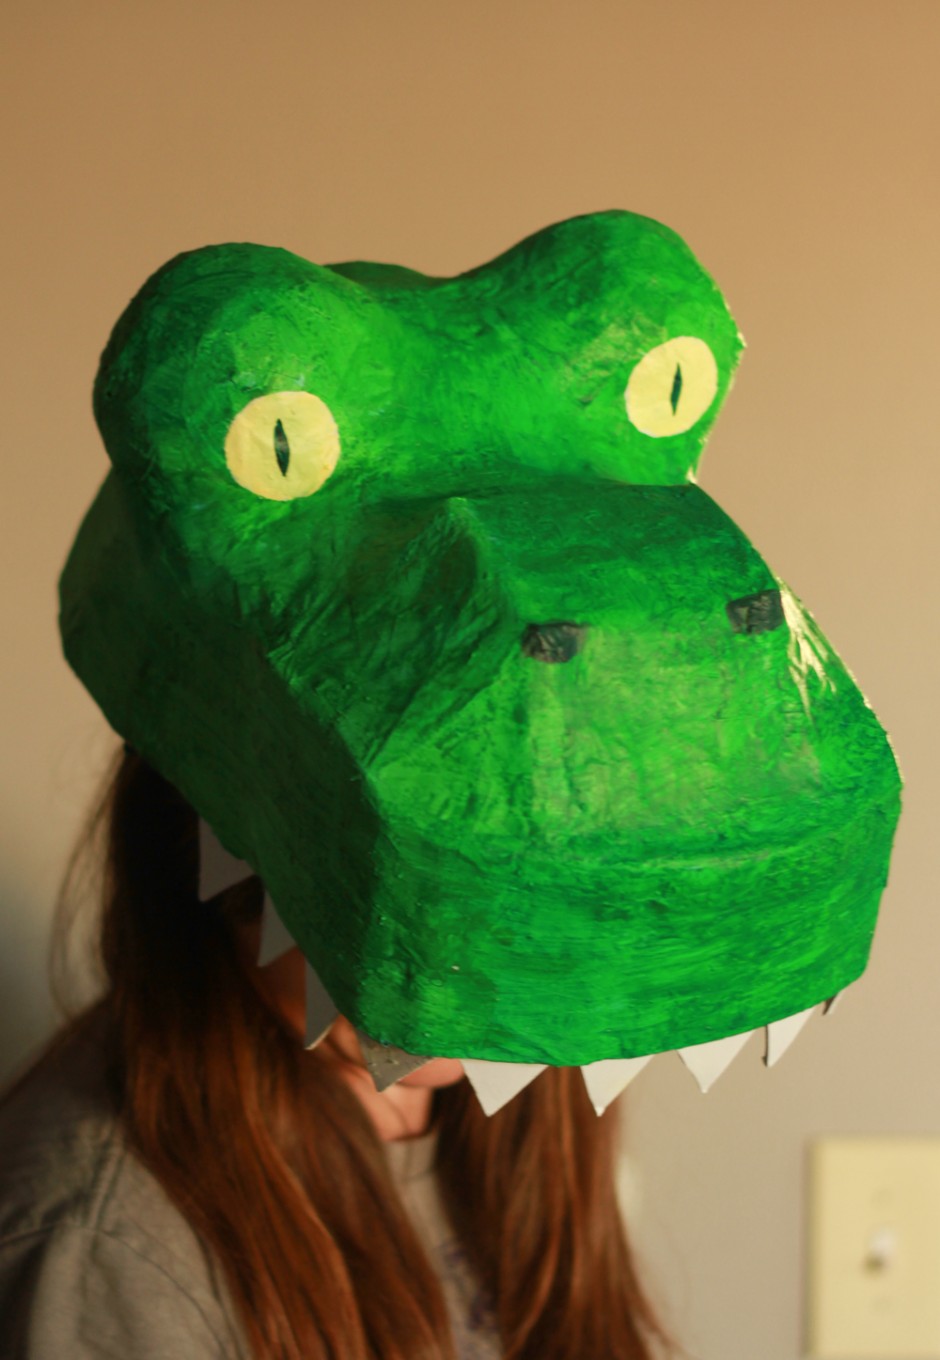
It was at this point in the project that I decided the paper mache dinosaur mask didn’t really feel complete without a bottom jaw. So I set back to work…
7. I created a new bottom jaw with some more cardboard. It was essentially an oval with one flat side where his front lower teeth would be. Then I paper mached it and painted it green and added more teeth.
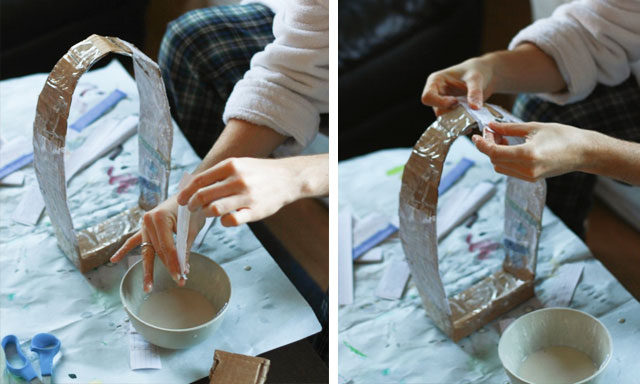
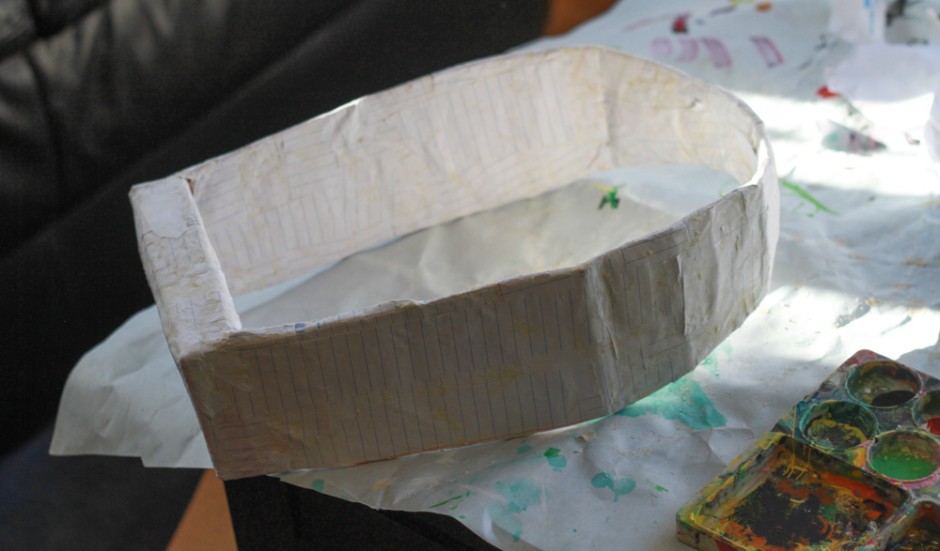
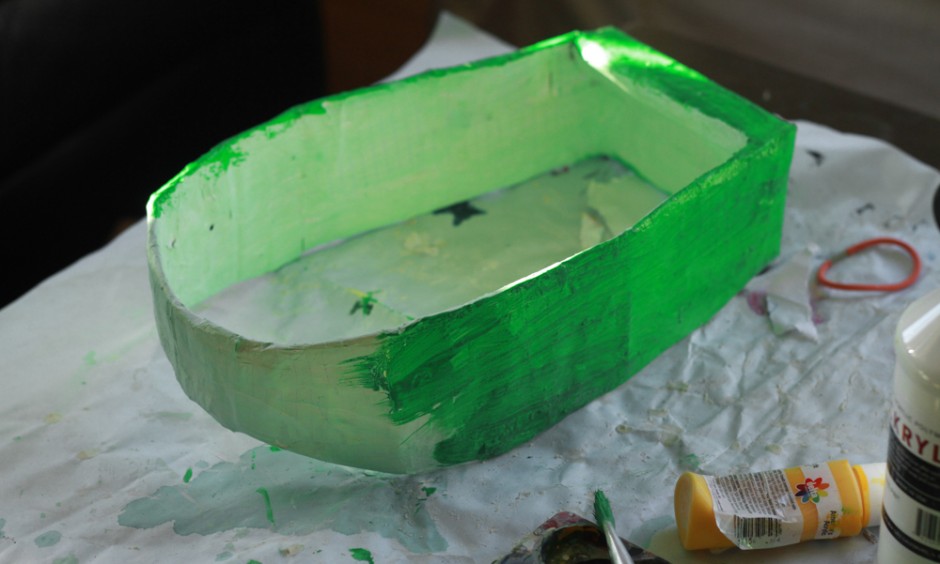
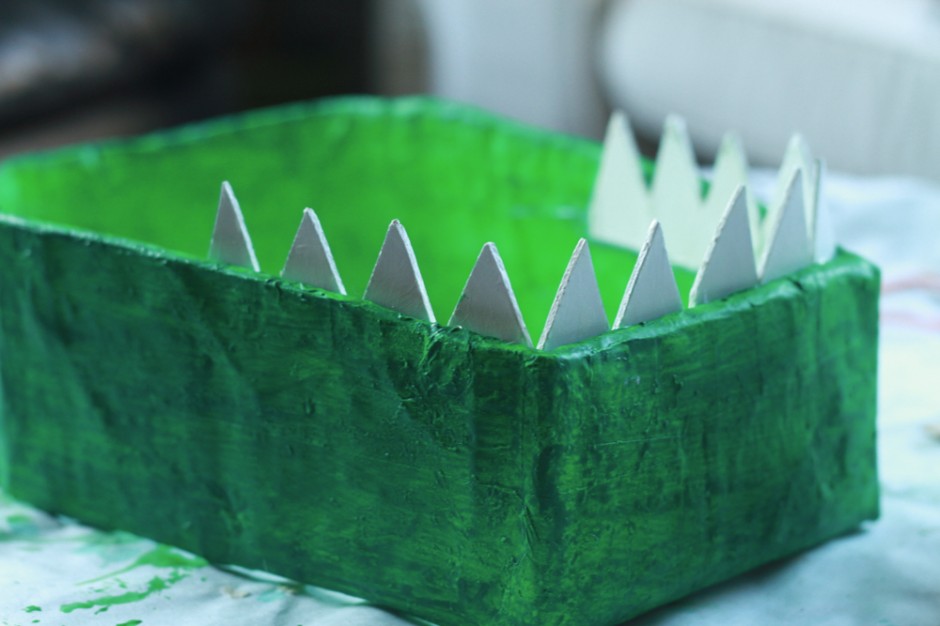
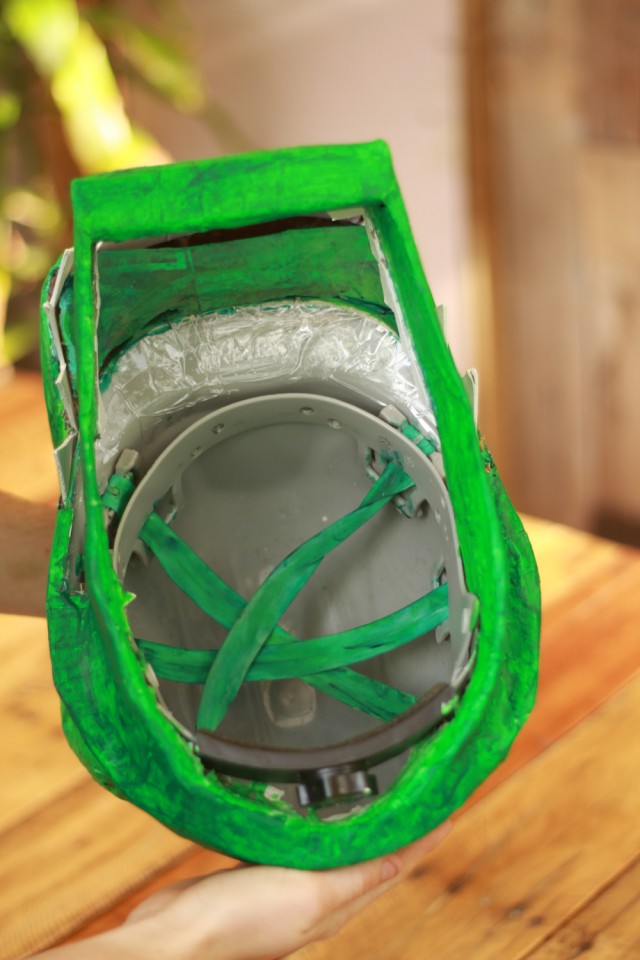
8. I had to slip it into the top half of the hat, so I pulled up the size adjustor and slipped it in the back, and along the sides underneath the plastic rim.
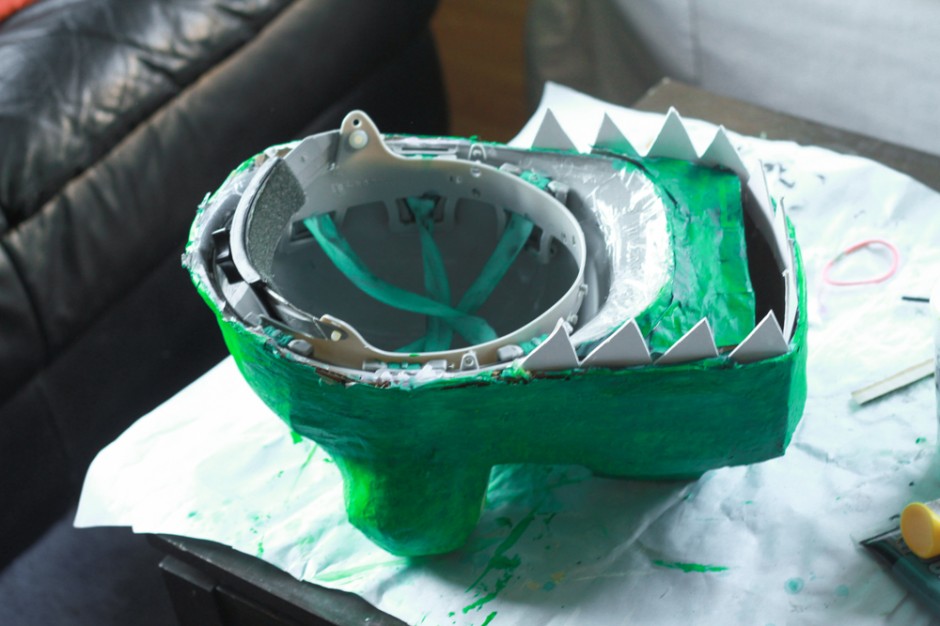
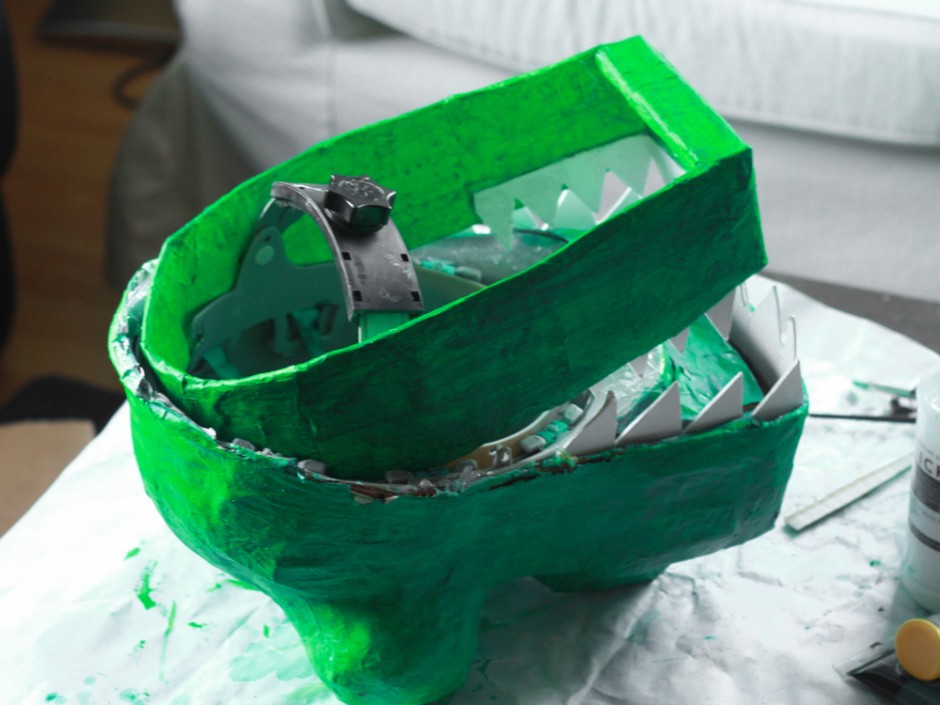
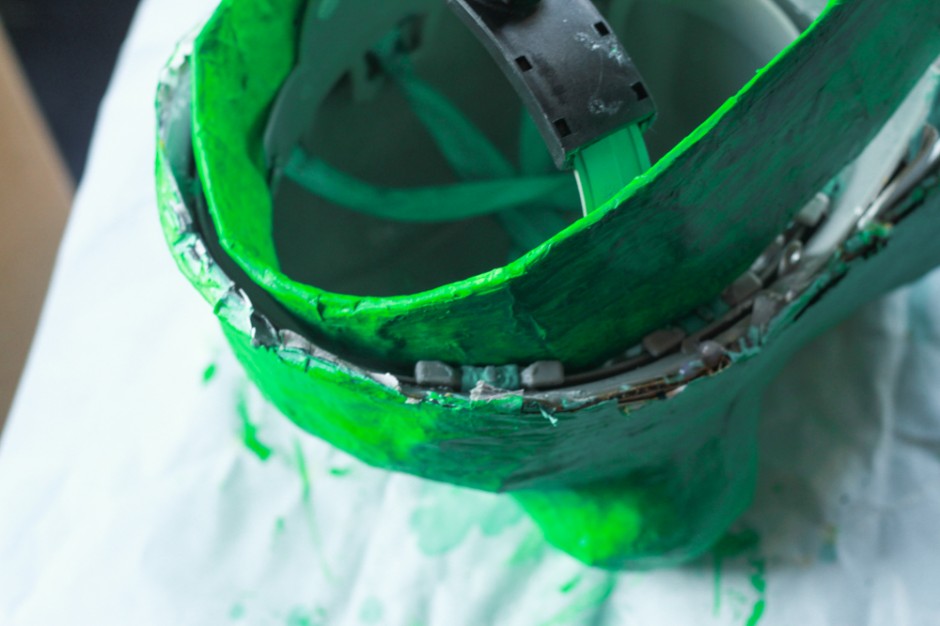
9. I was worried about them staying firmly in there, so I added some hot glue in the connection part at the back, and then in the ended decided to just add a bunch of tape (tape solves everything) and paper mache over the gap, so it was really secure.
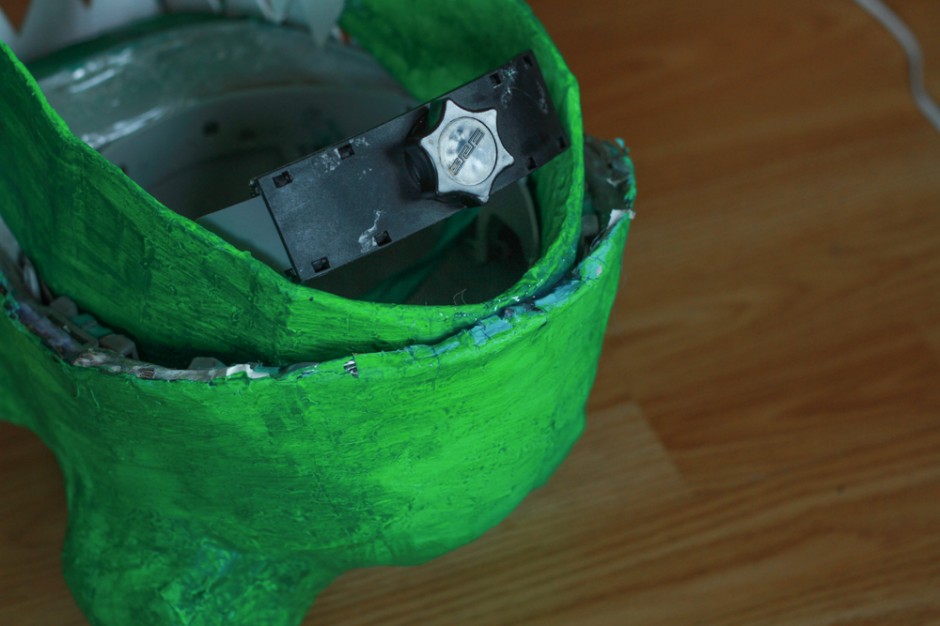
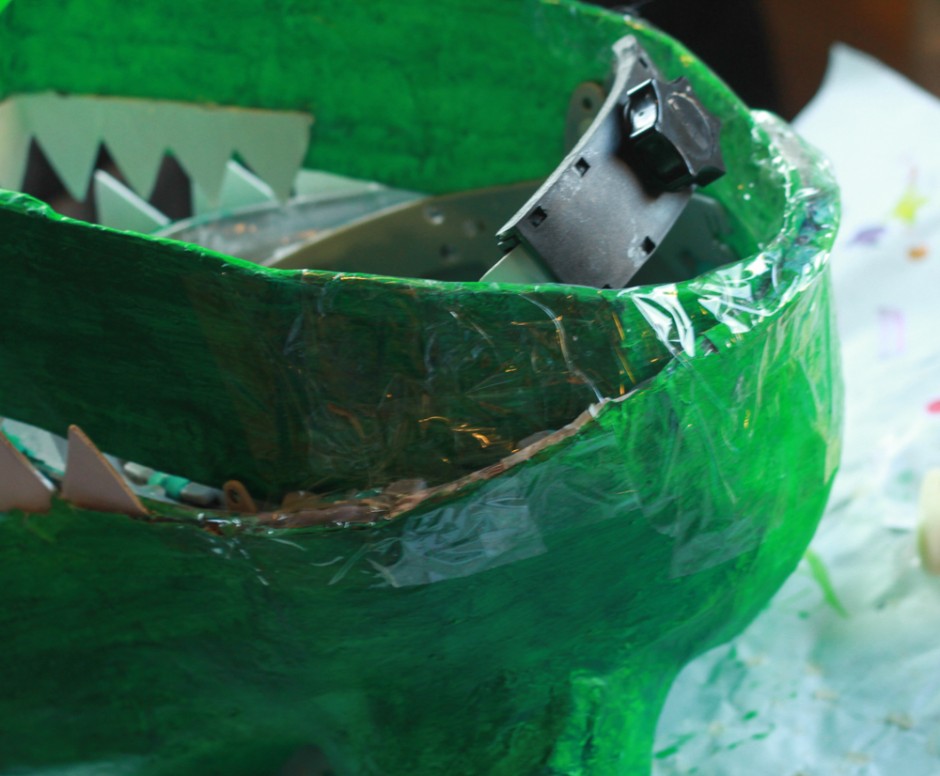
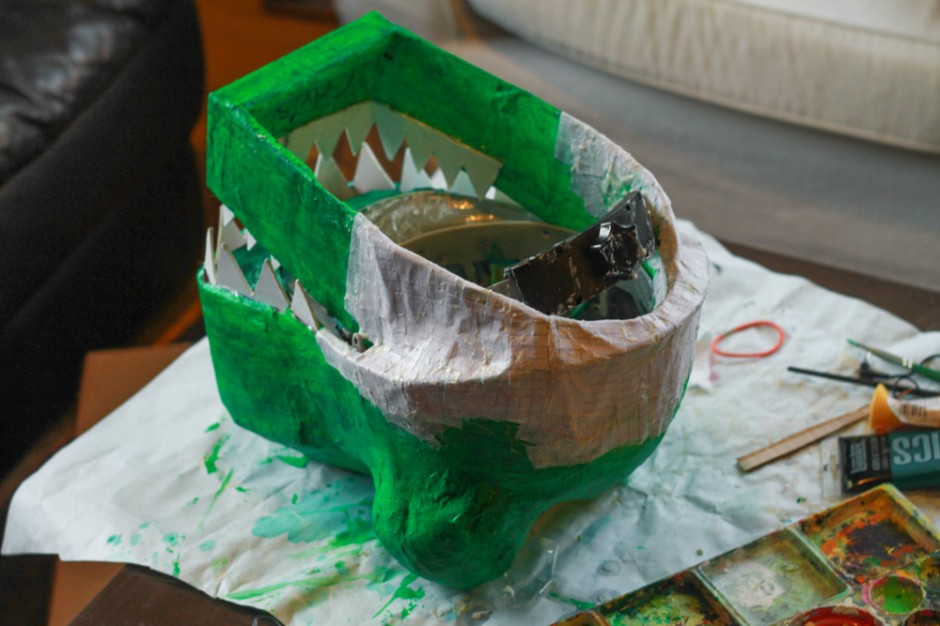
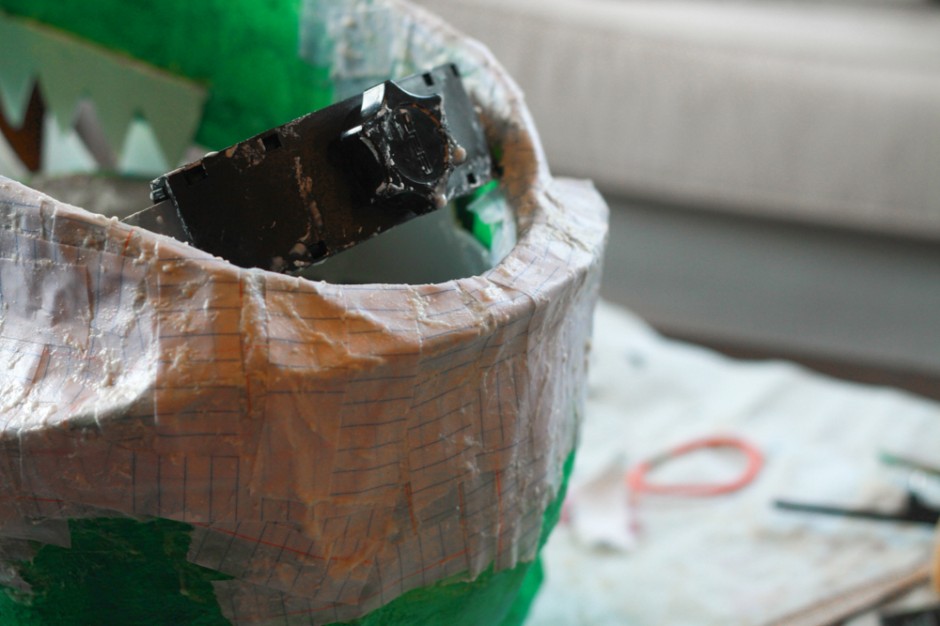
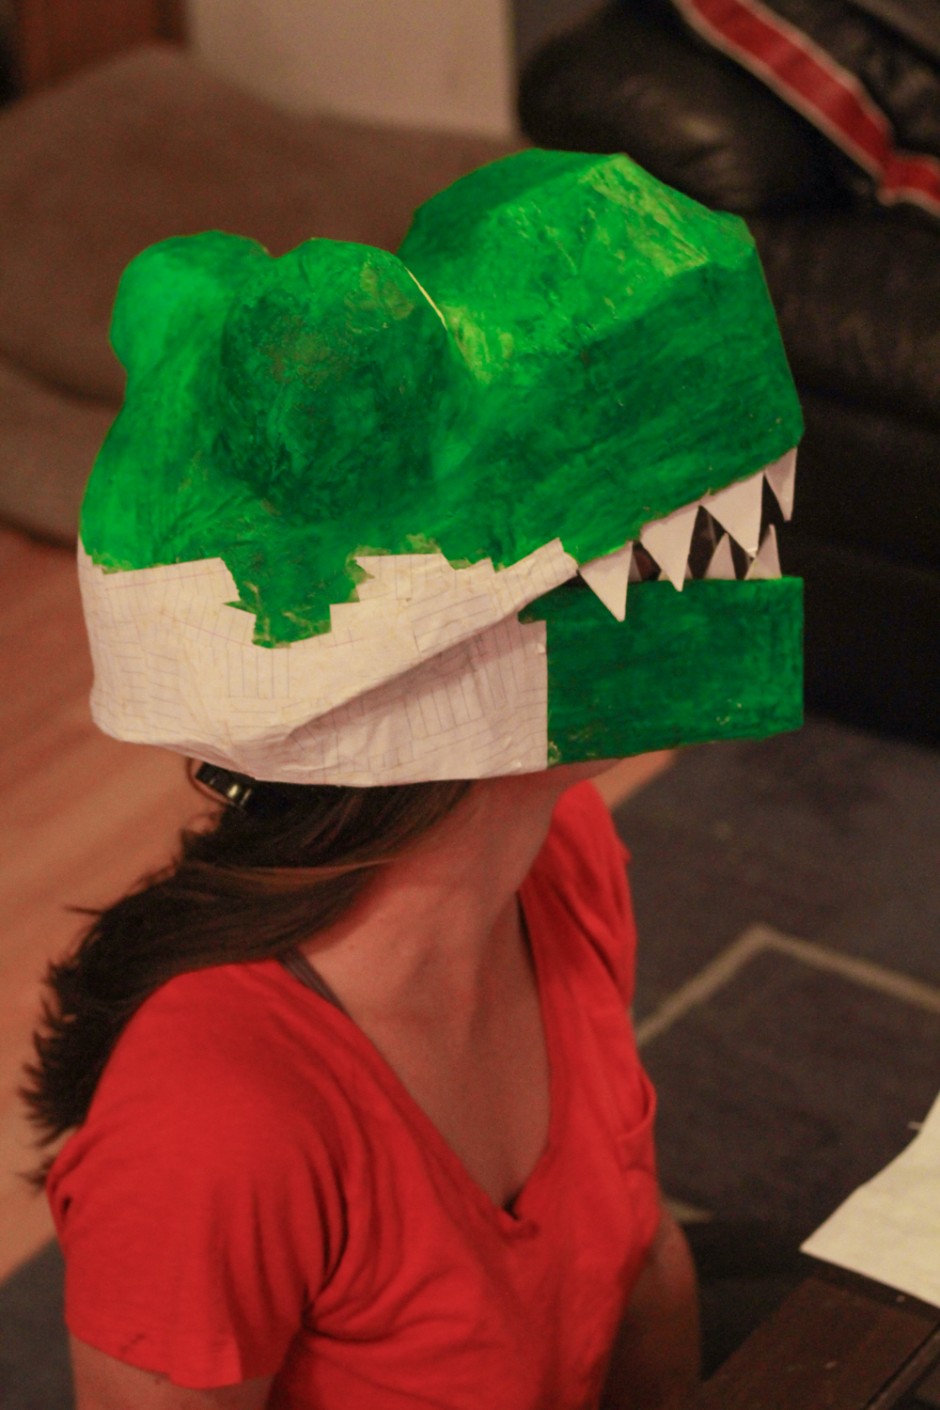
So close! The only thing left to do was to paint over the new paper mache part and I’d be done!
Ready for the finished product?
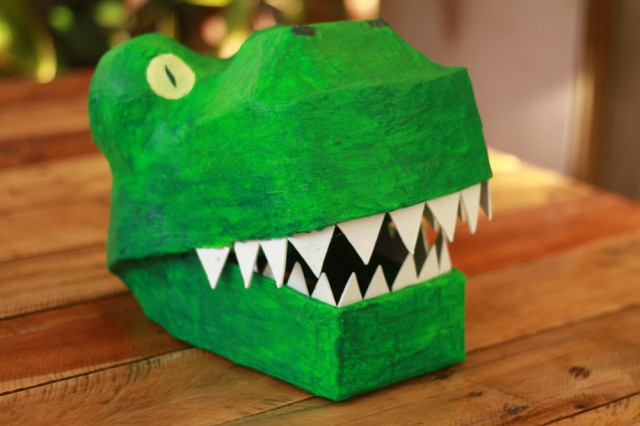
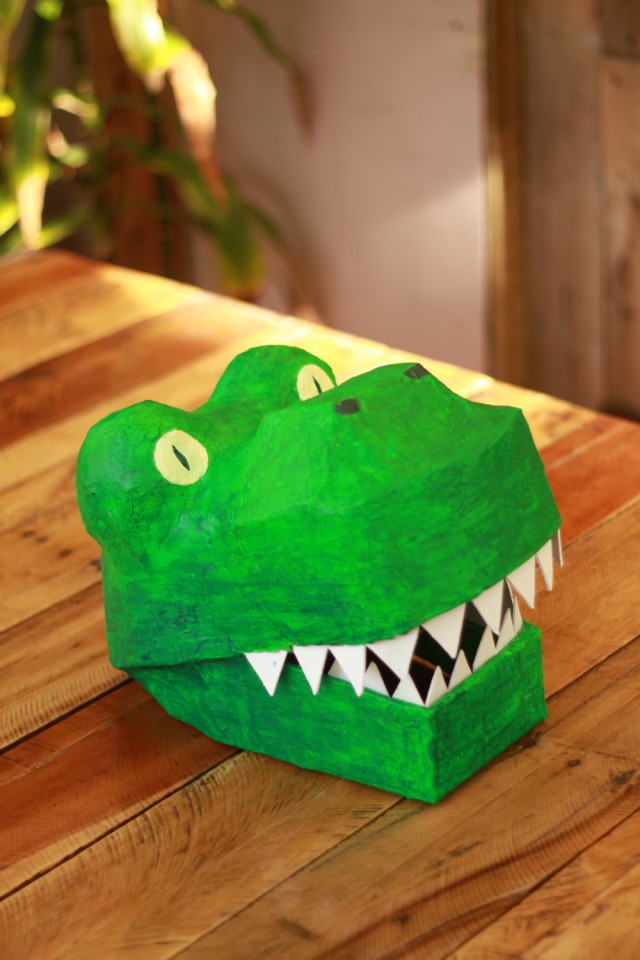
Paper Mache Dinosaur Mask – Final product!
I’m finally done! This was a bit of a labor of love, but my paper mache dinosaur head is finally completed. And it fits great! The best part about using the construction hat as the base is that it can be adjusted for size and won’t fall off even if you flip upside down doing crazy t-rex acrobatics.
A little view of the inside of the construction hat, so you can see how it works a little bit:
…now it’s time for a ridiculous paper mache t-rex mask photo shoot!
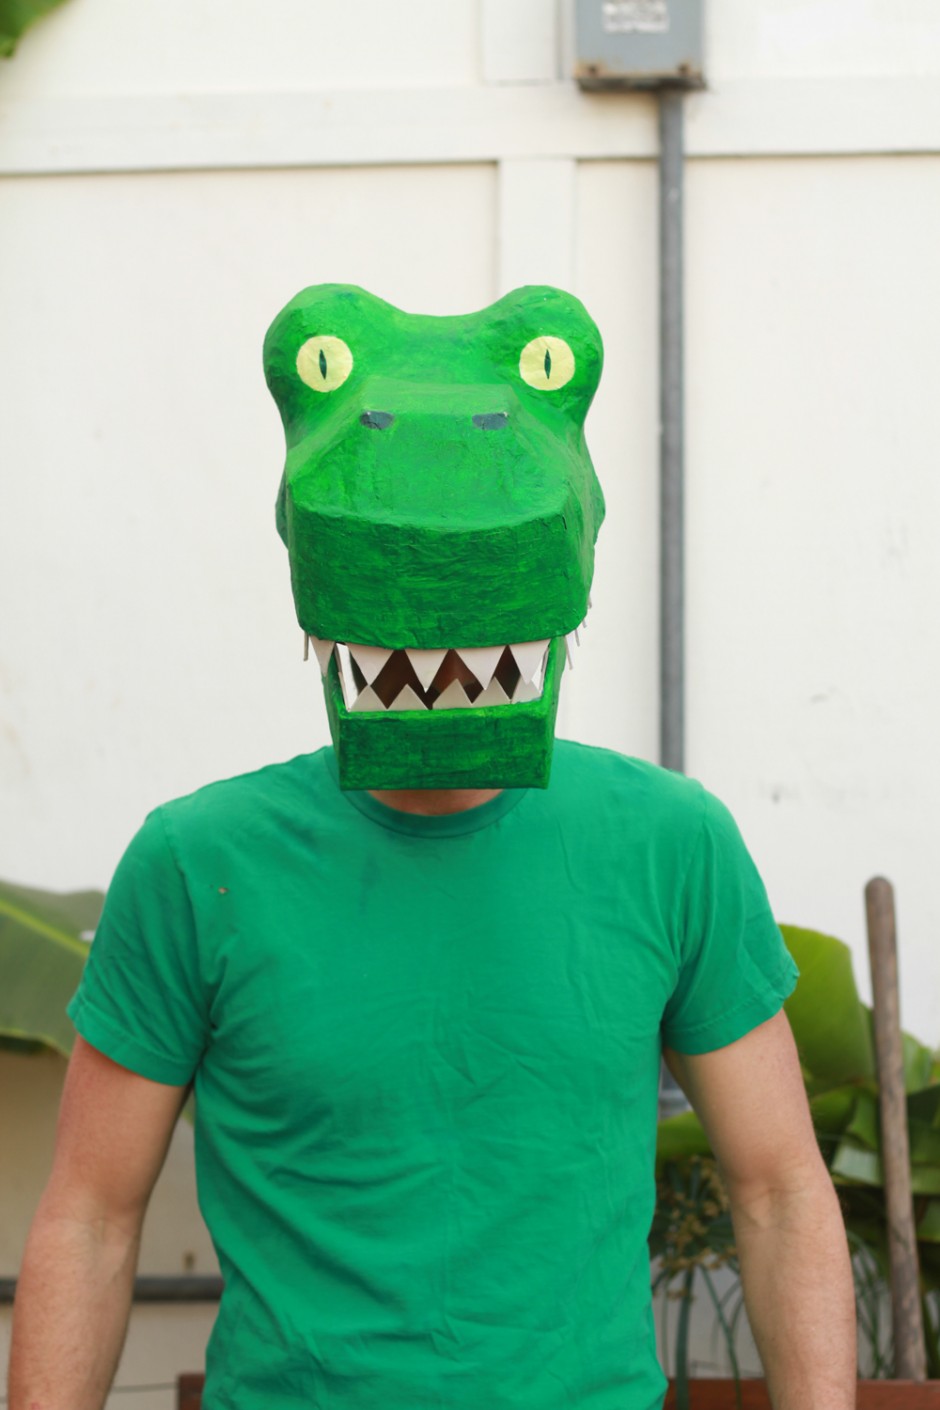
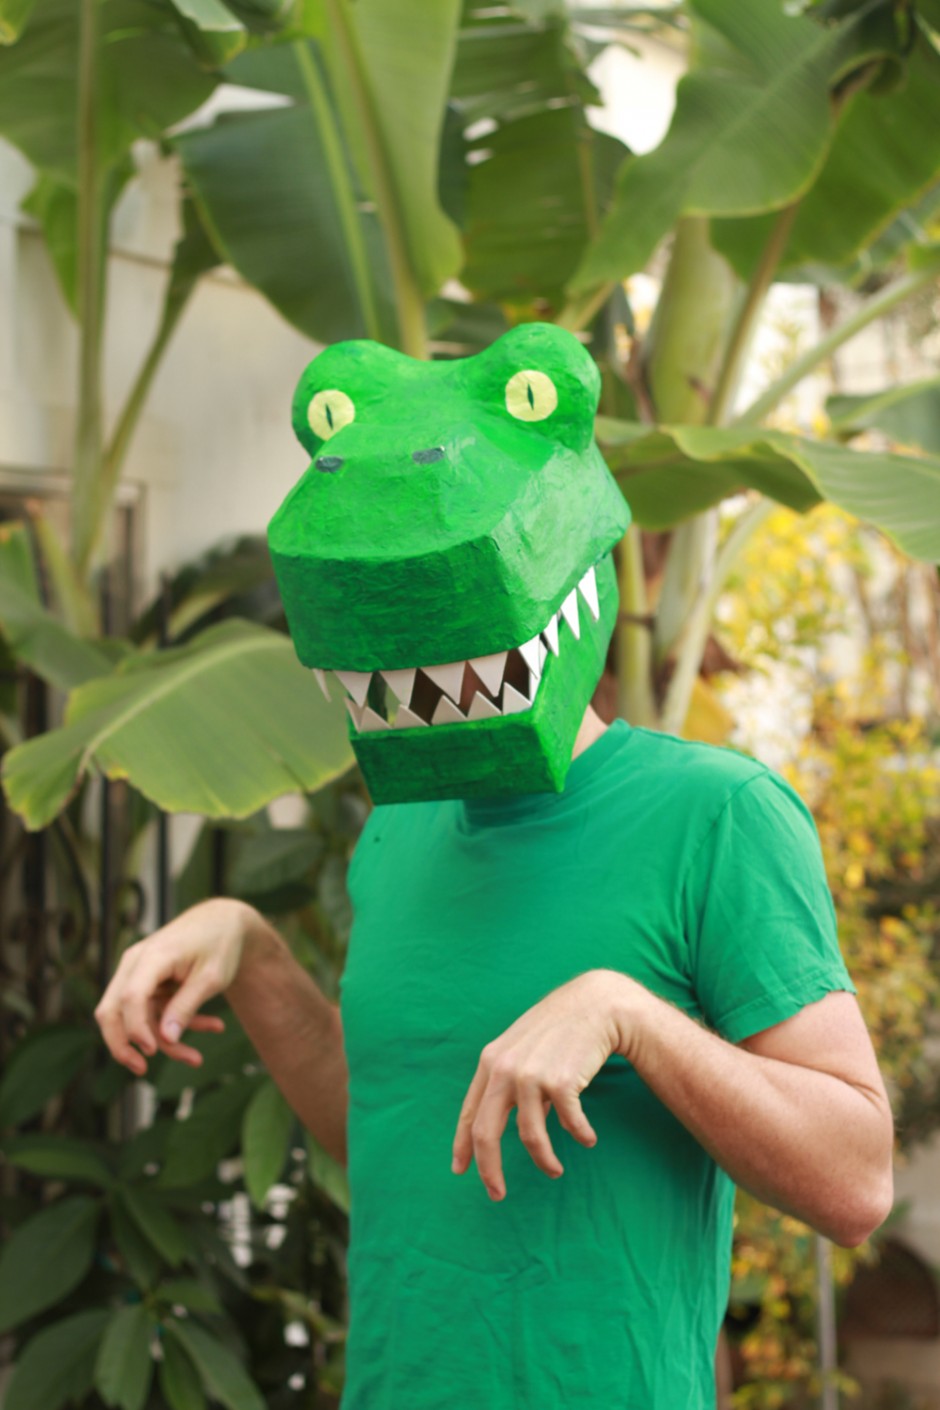
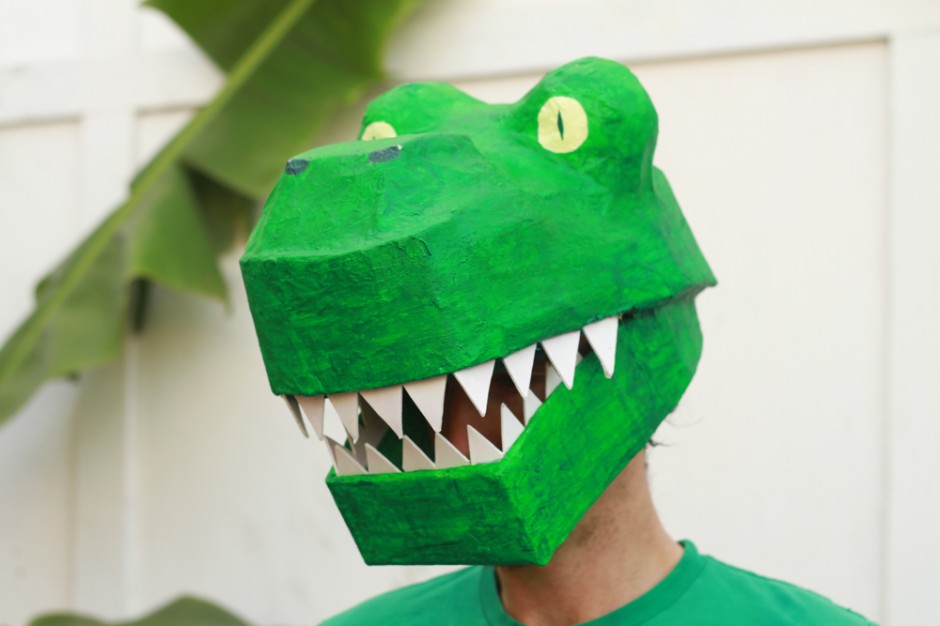
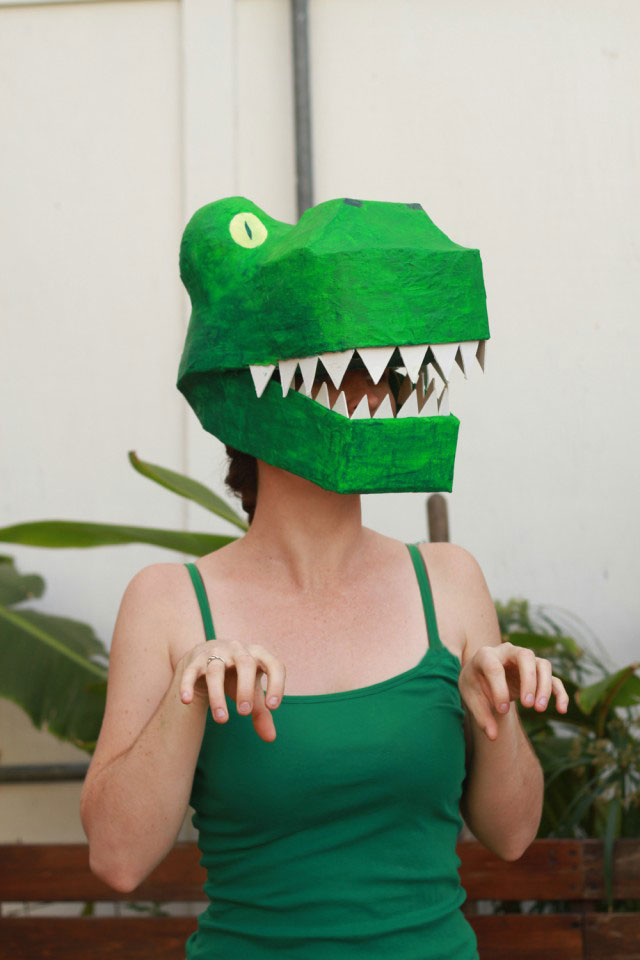
Poor Wilson didn’t known what to think…
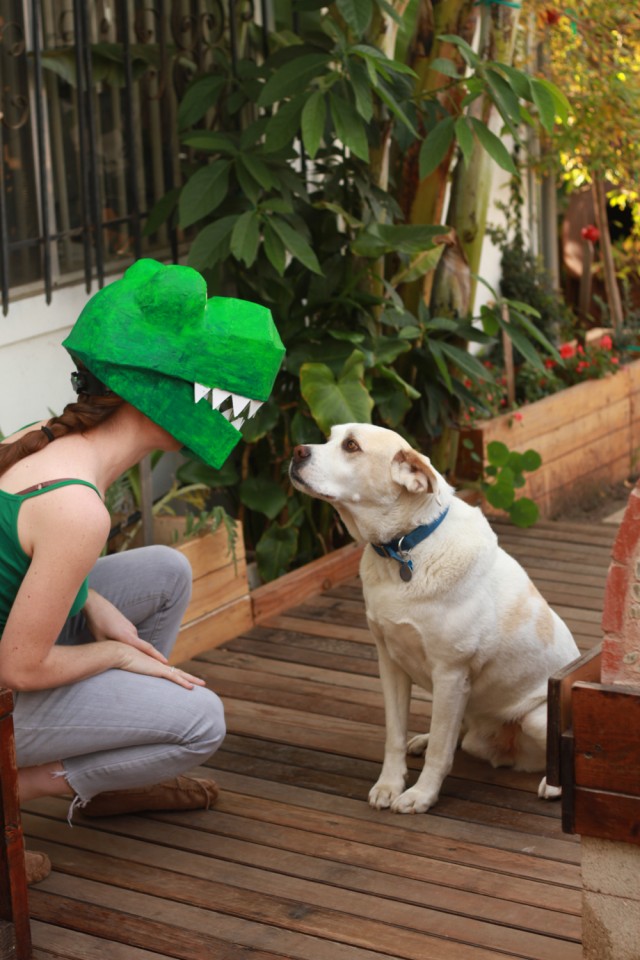
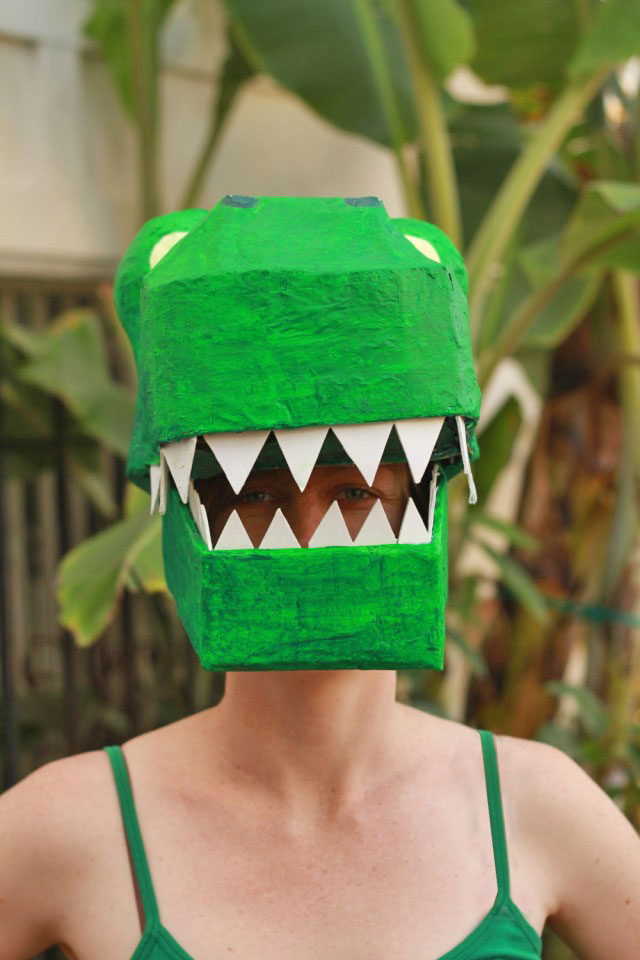
….it sorta reminds me a bit of Rex from Toy Story—all you’d have to change would be to put the eyes really close together (so use just one balloon) and give him more of a goofy smile.
Also! My friend Emily also helped me make a miniature city, so that the t-rex could live out his dreams of being Godzilla. Check them out on the next page.

Leave a Reply
You must be logged in to post a comment.