Every New Years for the past 4 years I’ve tried to do something slightly different than normal. This year, it involved going to a proper Masquerade Ball—in San Francisco, with the symphony orchestra.
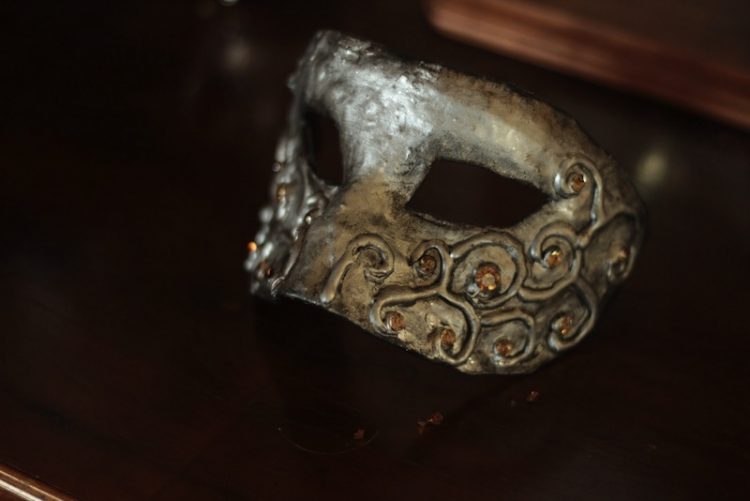
The invitation said that masks were supplied, but we decided we didn’t want to fit in with the crowd…so we made our own. I used Christmas ornaments to create mine, and Chris made his out of paper mache, paint, and hot glue! Check it out—our DIY Masquerade Mask tutorial!
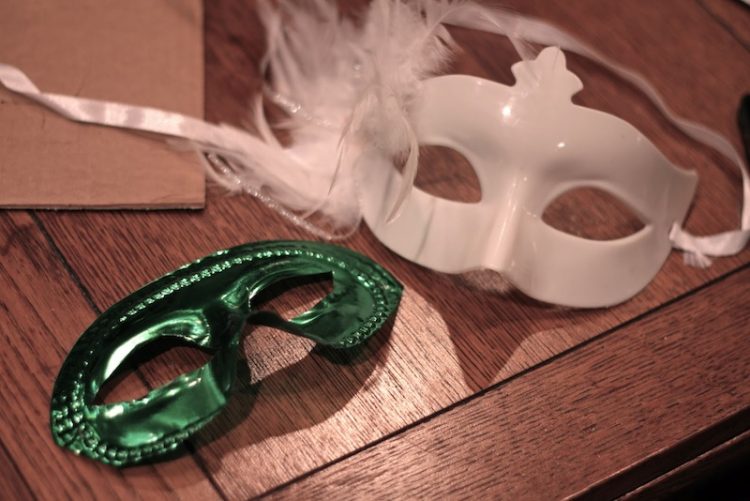
What we started with:
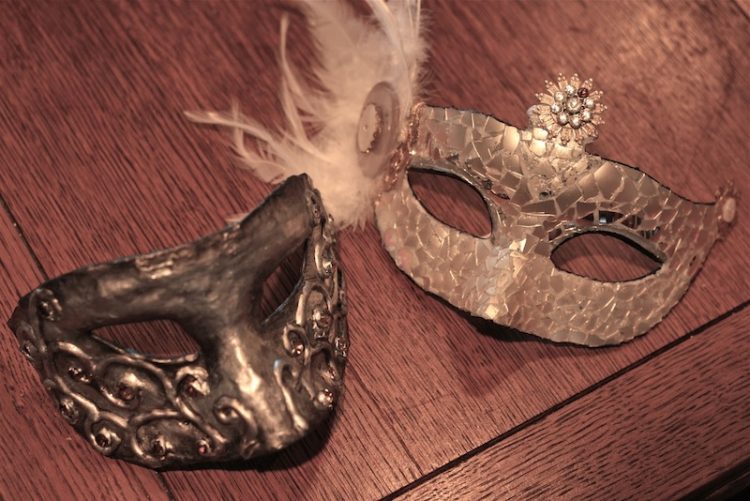
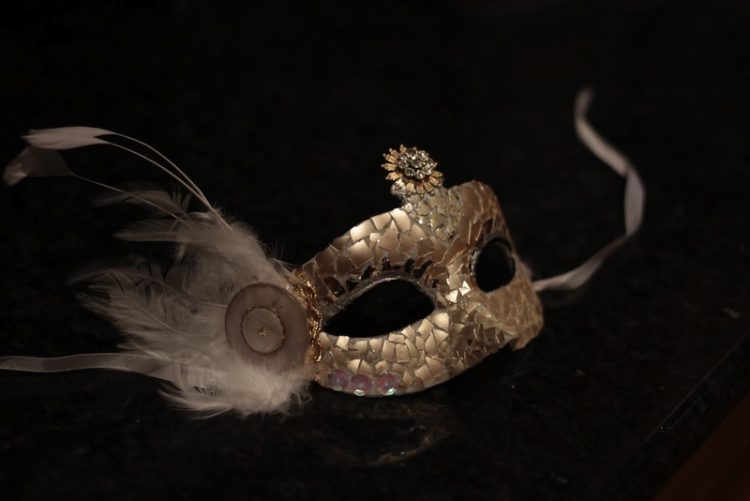
What we ended with:
DIY Masquerade Mask Tutorial
Mask 1: Manly mask
Materials:
- Starter mask (here’s a good one on Amazon for $2)
- Paper
- Flour
- Paint (silver and gold on Amazon here for $4 each)
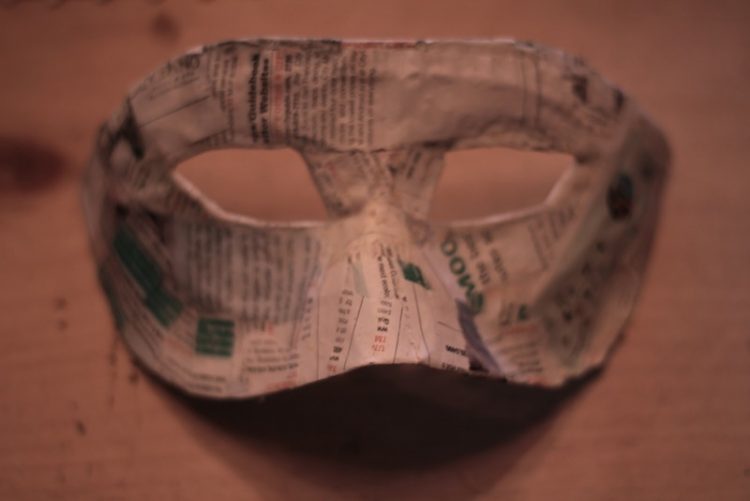
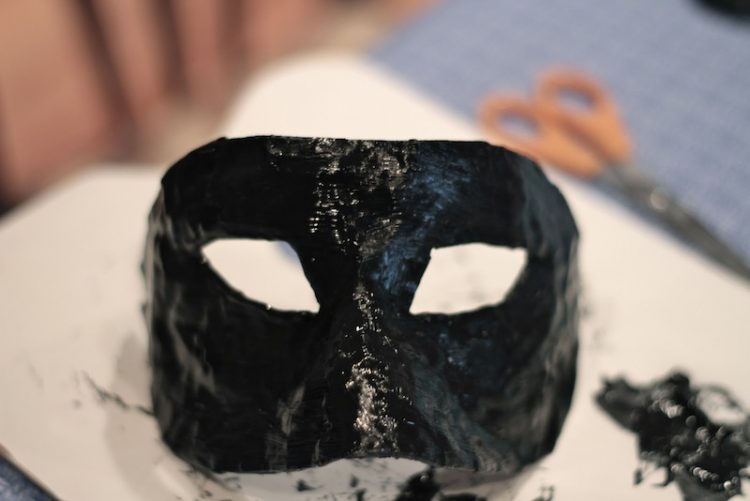
Chris altered the shape of the cheap plastic green mask by adding hard paper, then paper mache to the outside.
Mask 2: Feminine masquerade mask from Christmas Ornaments
Materials:
- Starter mask (here’s a good one on Amazon for $2)
- Christmas ornaments
- Hot glue/gun
- Buttons/feathers/embellishments
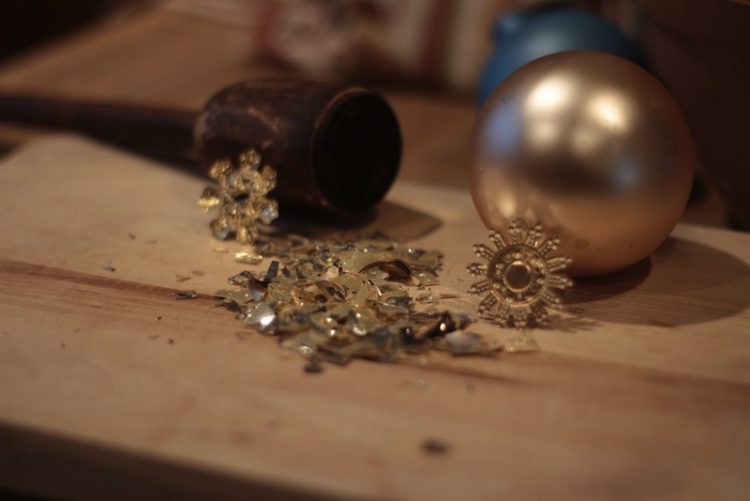
I started with a couple of Christmas ornaments we picked up for free at a thrift store the day after Christmas. I smashed them (carefully—they are sharp!) and then flattened out the top gold hanging part. Each one was different—they are very handy craft items!
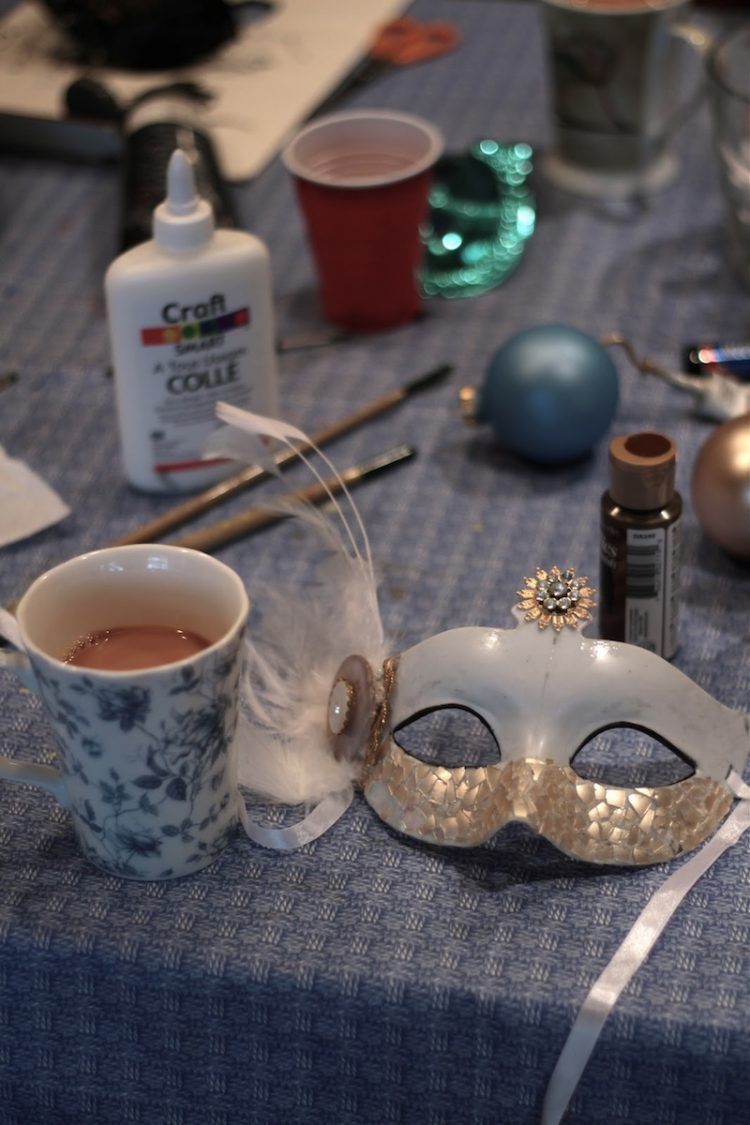
Next, I got a cup of tea (important step), and hot glued the ornament pieces all over the mask in a mosaic style. I added a couple of the awesome gold hanging pieces as embellishments, and a few vintage buttons (courtesy of my mom) on top of the feathers.
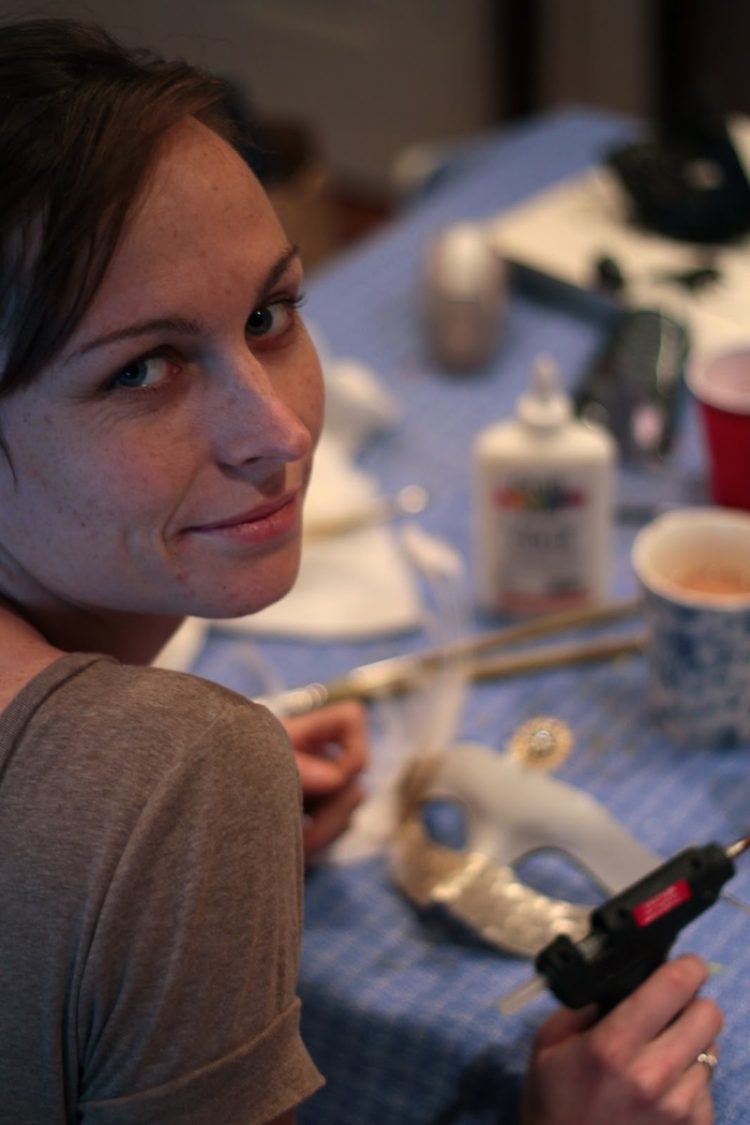
Me happily crafting away (it was a rainy day, even better!)
The finished product!
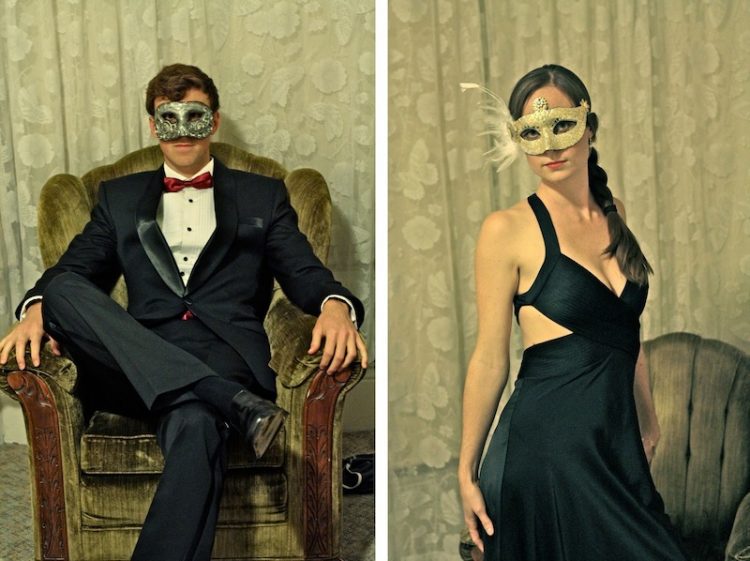
And here’s us posing before the ball 🙂
I’ve added a little single image tutorial for making masks out of Christmas ornaments, in case anyone wanted to repost or add it to Pinterest!



Leave a Reply
You must be logged in to post a comment.