Without knowing it, I’ve slowly started to realize a lot of the things in my house are made out of paper mache. My paper mache dinosaur head, my Dr Seuss craft (another faux taxidermy project), and even parts of my zombie teddy all use the wonderful material….of flour, old paper, and water.
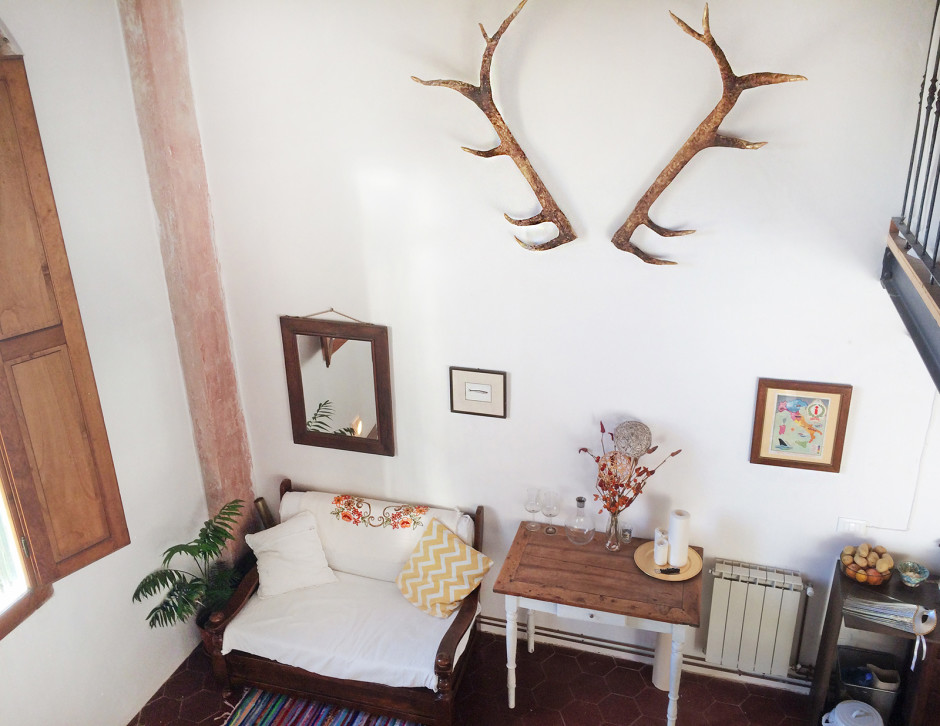
That being said, it wasn’t surprising that Chris and I happened to decide to fill a giant blank wall in our house in Florence with a vegan-friendly set of paper mache deer antlers.
Here’s my tutorial!
How to Make Deer Antlers: Deer Antler DIY
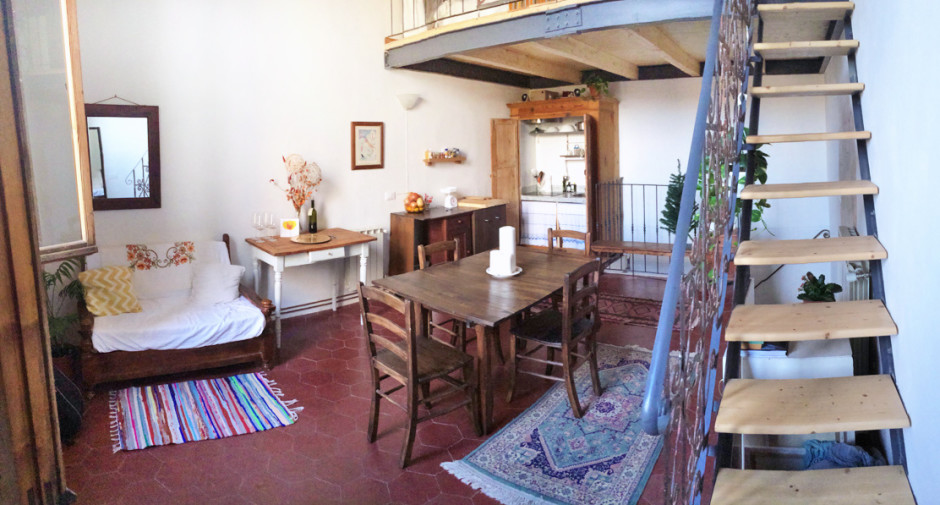
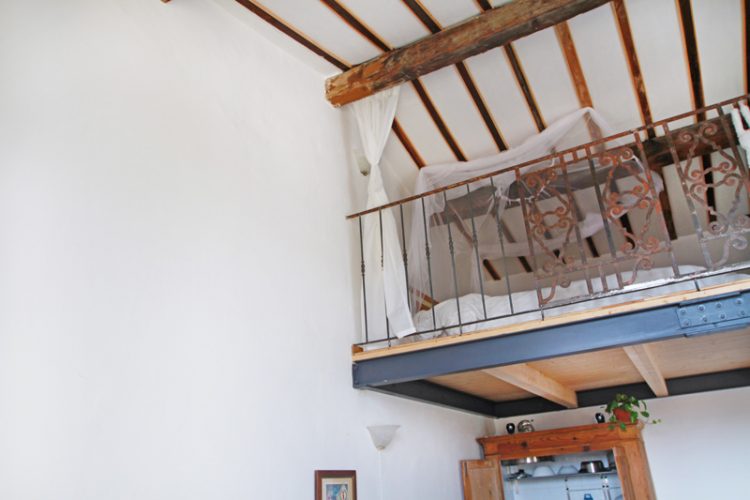
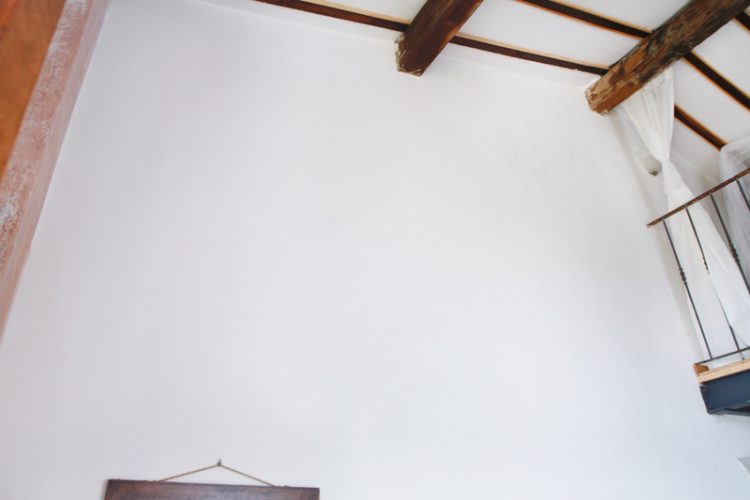
First off, some pictures of the area we’re going to place the antlers in. It’s a super tall room—we are at the top of a 4 story building in the Santa Croce area of Florence. The ceiling has super cool old beams, the walls are covered in crazy ancient writing, and there’s a more modern loft bedroom space with a mini kitchenette underneath. Basically I am in love with it and want to marry it and the Italian carabinieri are going to have to drag me kicking and screaming to the airport in February to make sure I leave (you can see more pictures of the space at the end of my bed frame dining table tutorial post).
Anyway. The space above the couch is the wall I’m referring to:
Now, let’s start doing this DIY deer antlers thing.
Ingredients:
- 2 large rolls of paper. Brown kraft paper works well.
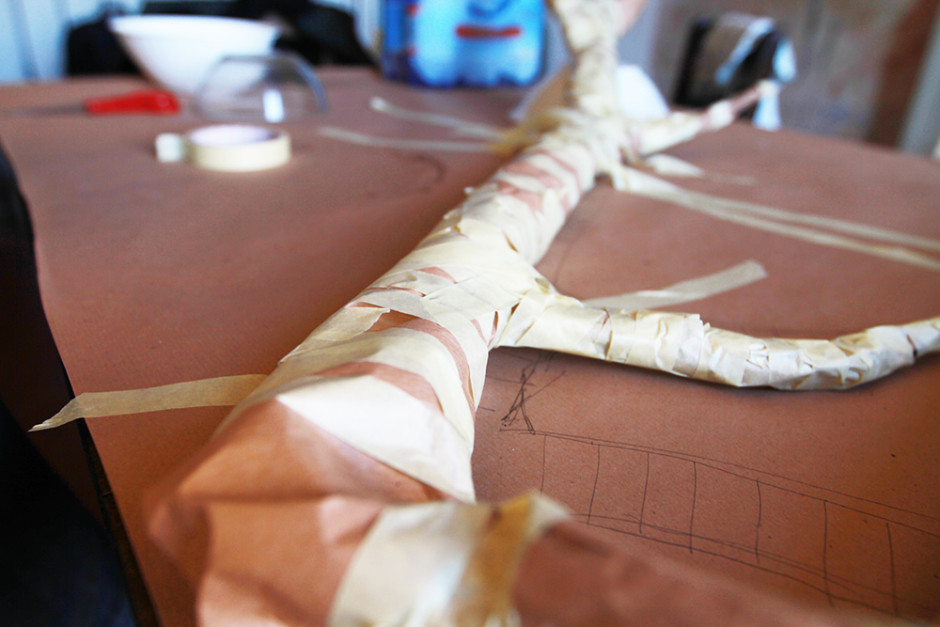
- Tape. The kind that isn’t glossy (see pics below)
- Flour (for paste)
- White, yellow and brown paint
- Clay if you’re a perfectionist, for a super nice antler tip shape ($7 on Amazon here)
- Gold paint if you want to make the antler tips gold ($4.00 on Amazon here)
Steps
For some reason we decided to not be intelligent and didn’t google “how to make deer antlers” or any pre-existing DIY deer antlers tutorials online, to give us a head start. We like to make things difficult, I guess.
The first step was to take long strips of the paper, and scrunch them up into a long rod shape. I lost these pictures (apologies).
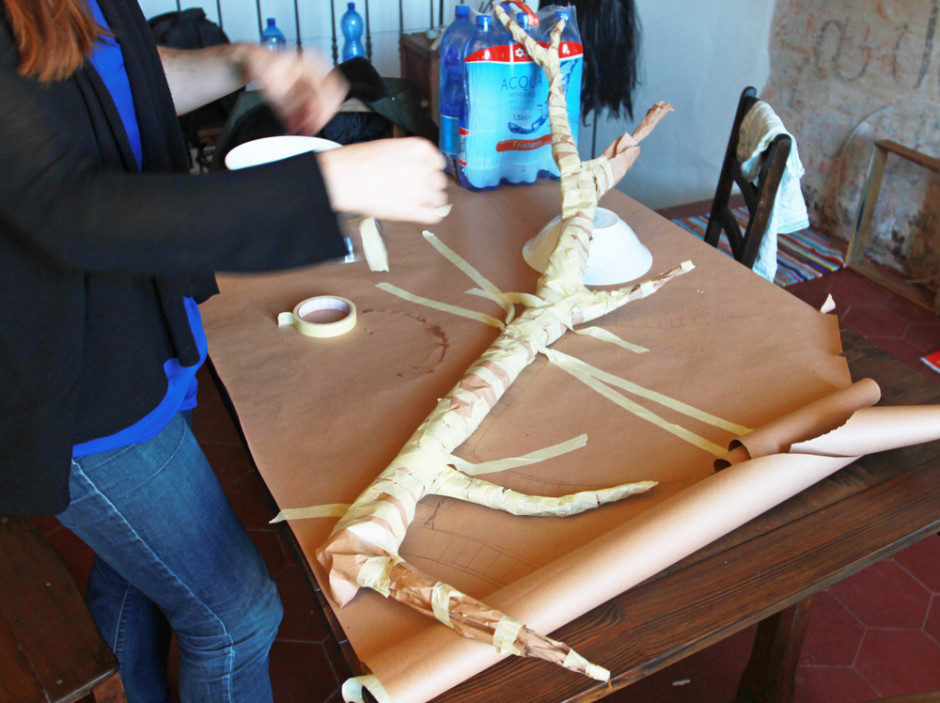
Use tape to shape the rod into the main trunk of your antler. Create side “branches” of the antlers, and secure those to the main trunk using tape as well
An important part of the shape of the antlers is also to have them curve away from the wall, the way real antlers do. In the picture below you can see us holding up the end of the antlers with some water bottles, and taping the main trunk to the table to ensure that shape stays as we add tape. (You may also see a creepy black wig in the background—it was around Halloween that we began this whole project.)
Next step is to paper mache the entire thing. Again, I suck, and the pictures are missing. It’s pretty basic paper mache-ing though—you can see me doing paper mache on the dinosaur mask post, or there’s a good Instructables lesson here. Basically you make a paste out of flour and water, take strips of the scrap paper, and smooth them all over the object.
I did three layers of this, allowing 2 days between each for them to dry (indoors). If you put them in the sun, it might even take only half a day.
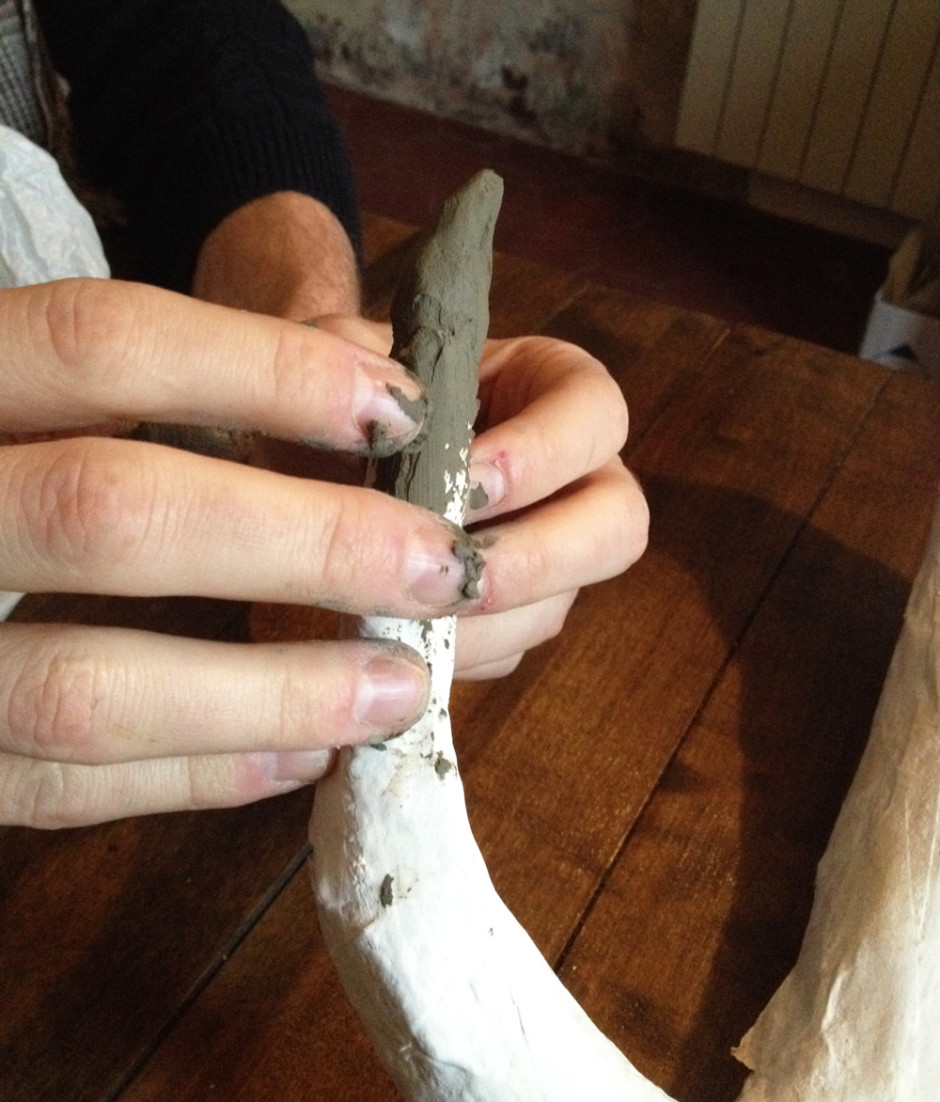
Next, Chris decided that the tips of the antlers weren’t pointy or smooth enough, so he added some clay to the ends to give them a super nice shape.
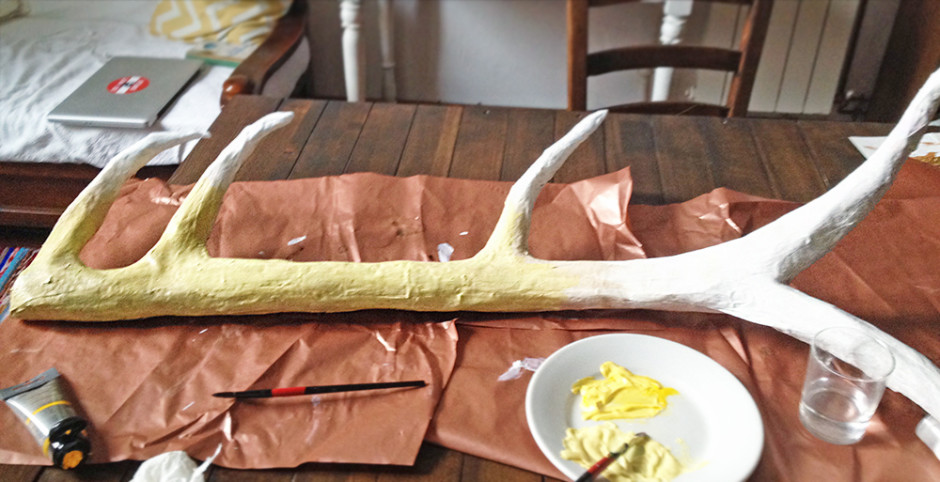
Next, we painted them. We started with a white and yellow base layer:
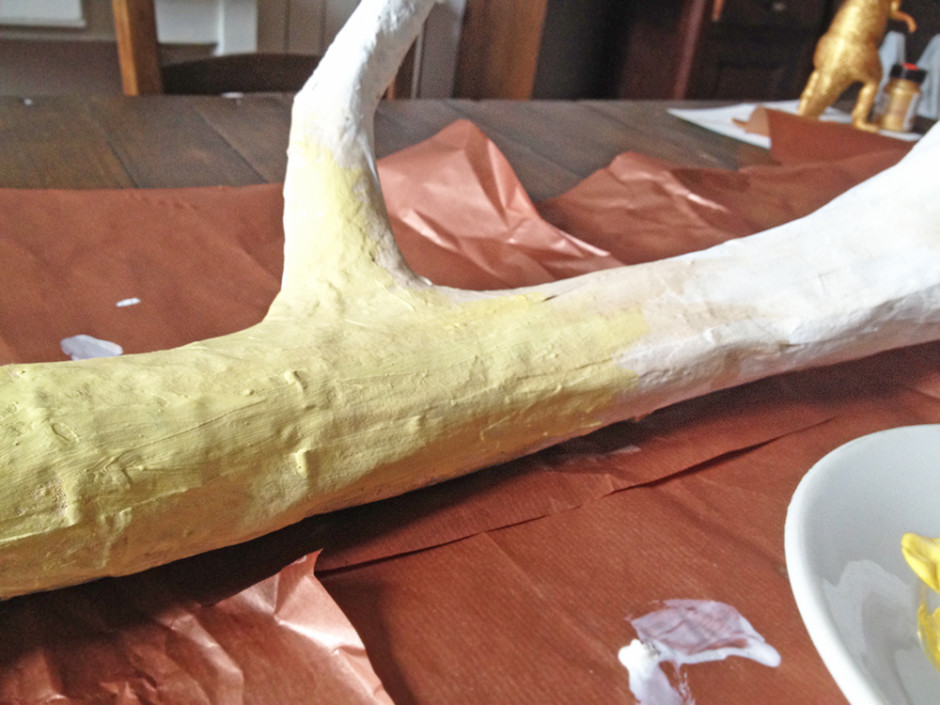
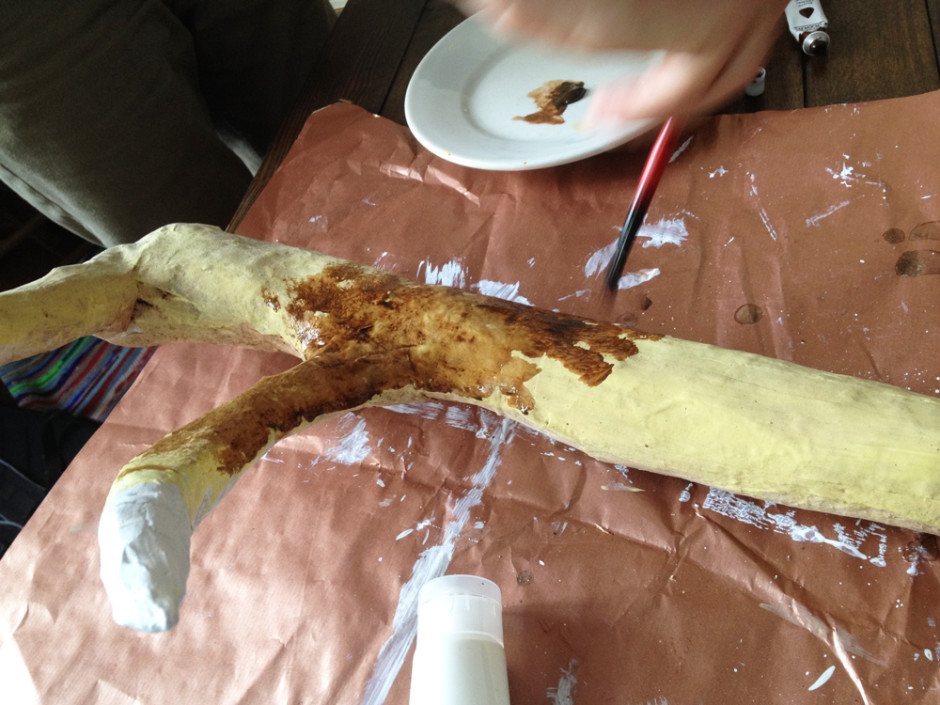
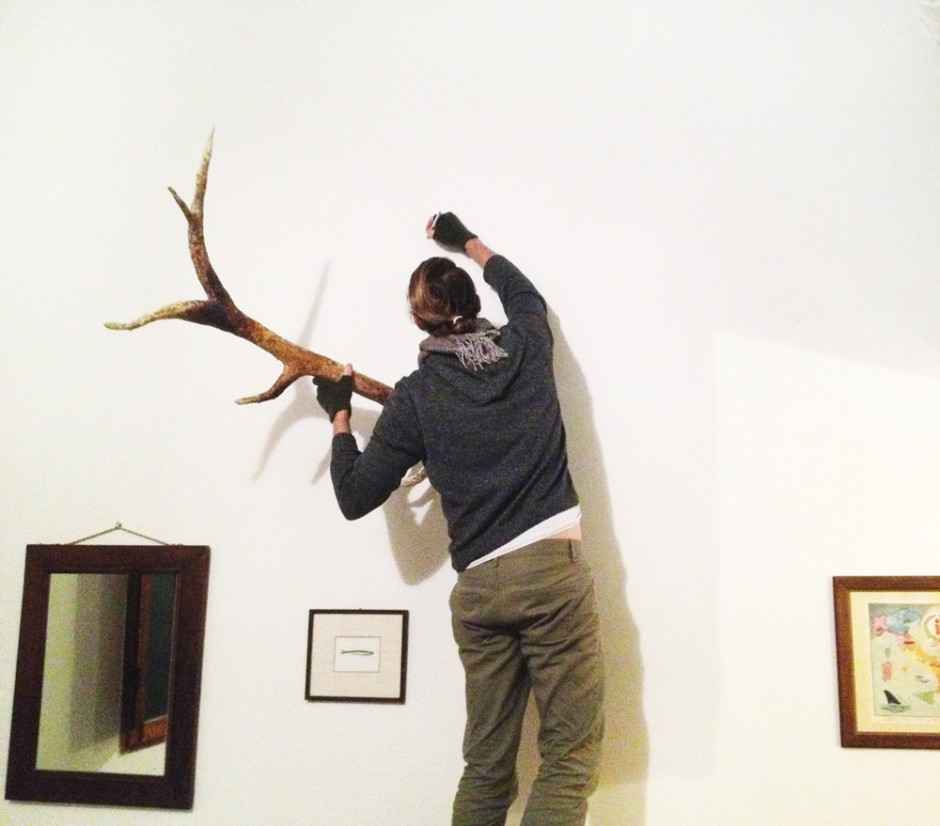
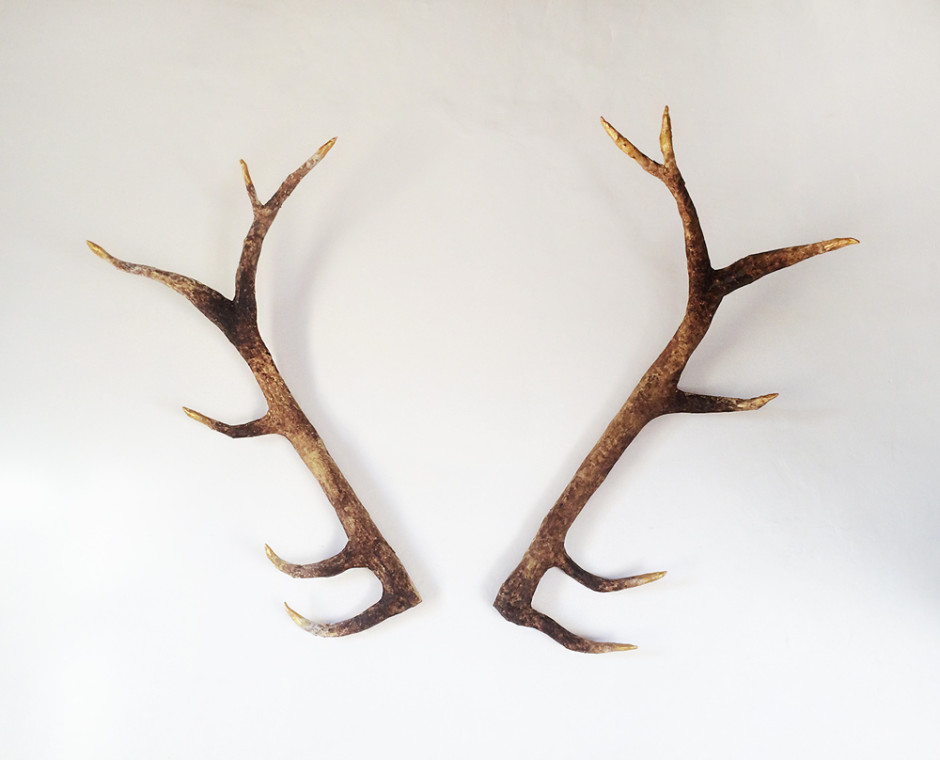
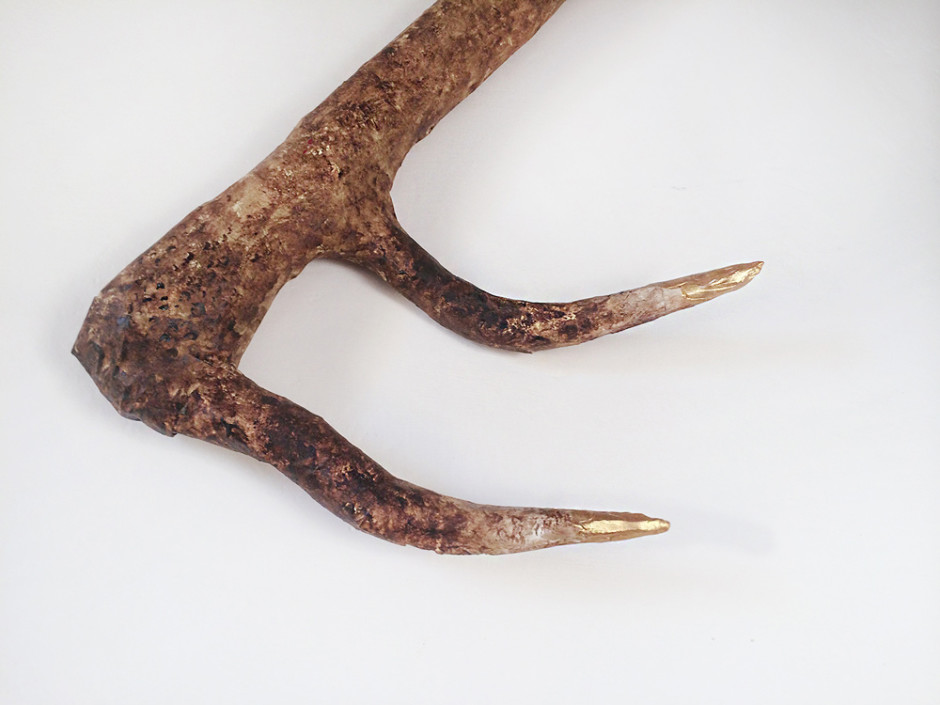
Then we added a wetter, more splotchy brown layer. We did a few layers of the brown, to make it look more natural. Lastly, we painted the tips gold and hung it on the wall by pushing nails into the back of the antlers.
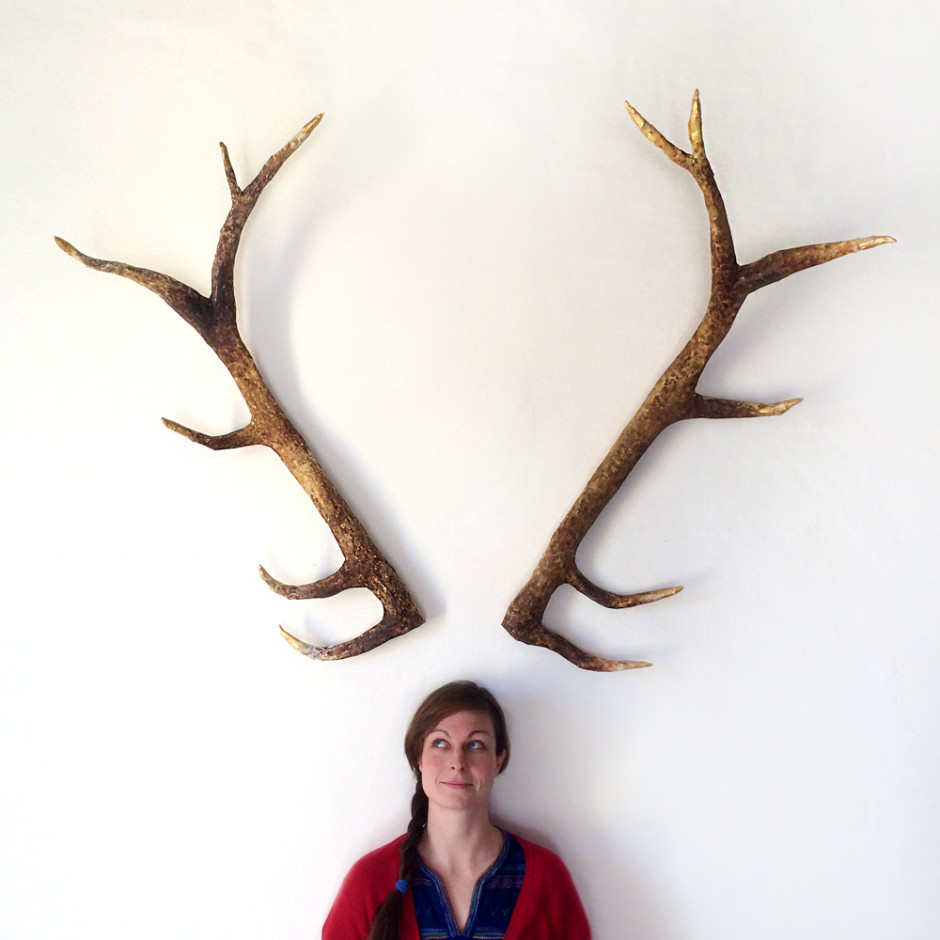
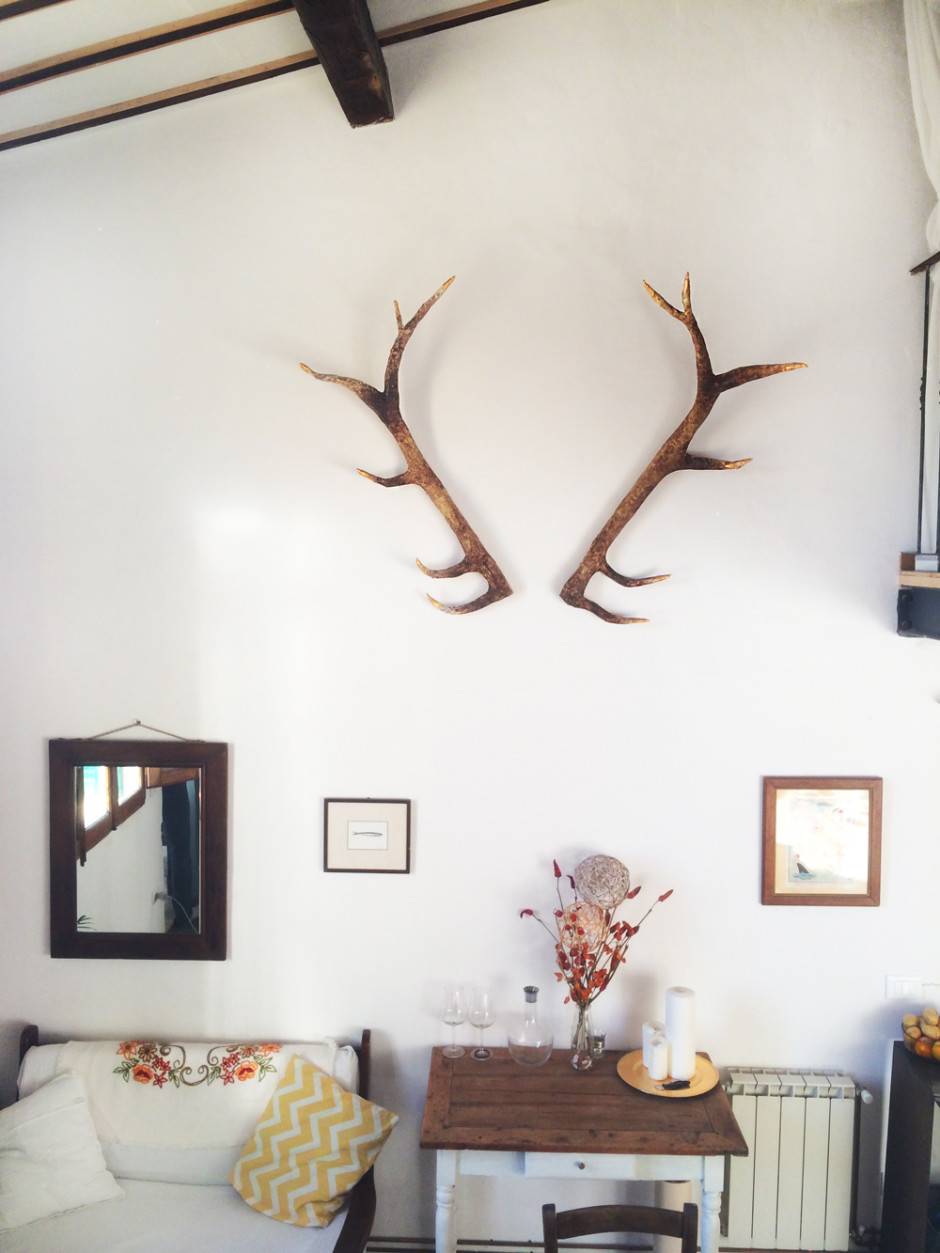
Check out the final pics of my paper mache deer antlers!
My sister posed for a mock 70’s style magazine-cover photo:
Also, if you have any suggestions for how to make deer antlers out of paper mache in an easier way, definitely post in the comments below—these bad boys will sadly not be traveling with us back to Los Angeles, so we may have to start all over again if we want a pair at home.
Like my DIY Deer Antlers? Check out some others:
- A cool tutorial post on Lovely Crafty Home
- An adorable version of the paper mache antlers from PoppyQuinn
- An Antler headband from Arbitrary Ambrosia



Leave a Reply
You must be logged in to post a comment.